Carving a wooden ocarina
I’ve always wanted to make a musical instrument, but most seem so complicated. But an ocarina? Those are dead simple. Basically “cut it into whatever shape you want, scoop out the inside, cut a voicing, then drill holes of whatever size you need in order to make it in tune”.
If you’ve never made an instrument before and have access to a saw and whittling tools, I highly recommend making an ocarina. Easy to make, easy to play, delightful sound.
Materials
Traditionally, ocarinas are made of ceramic, or out of plastic1. It’s a lot harder to make an ocarina out of wood, and it won’t sound as good. But I don’t know much about clay, I love working with wood, and I just happened to find a beautiful block of walnut for sale. So that’s what we’re using.
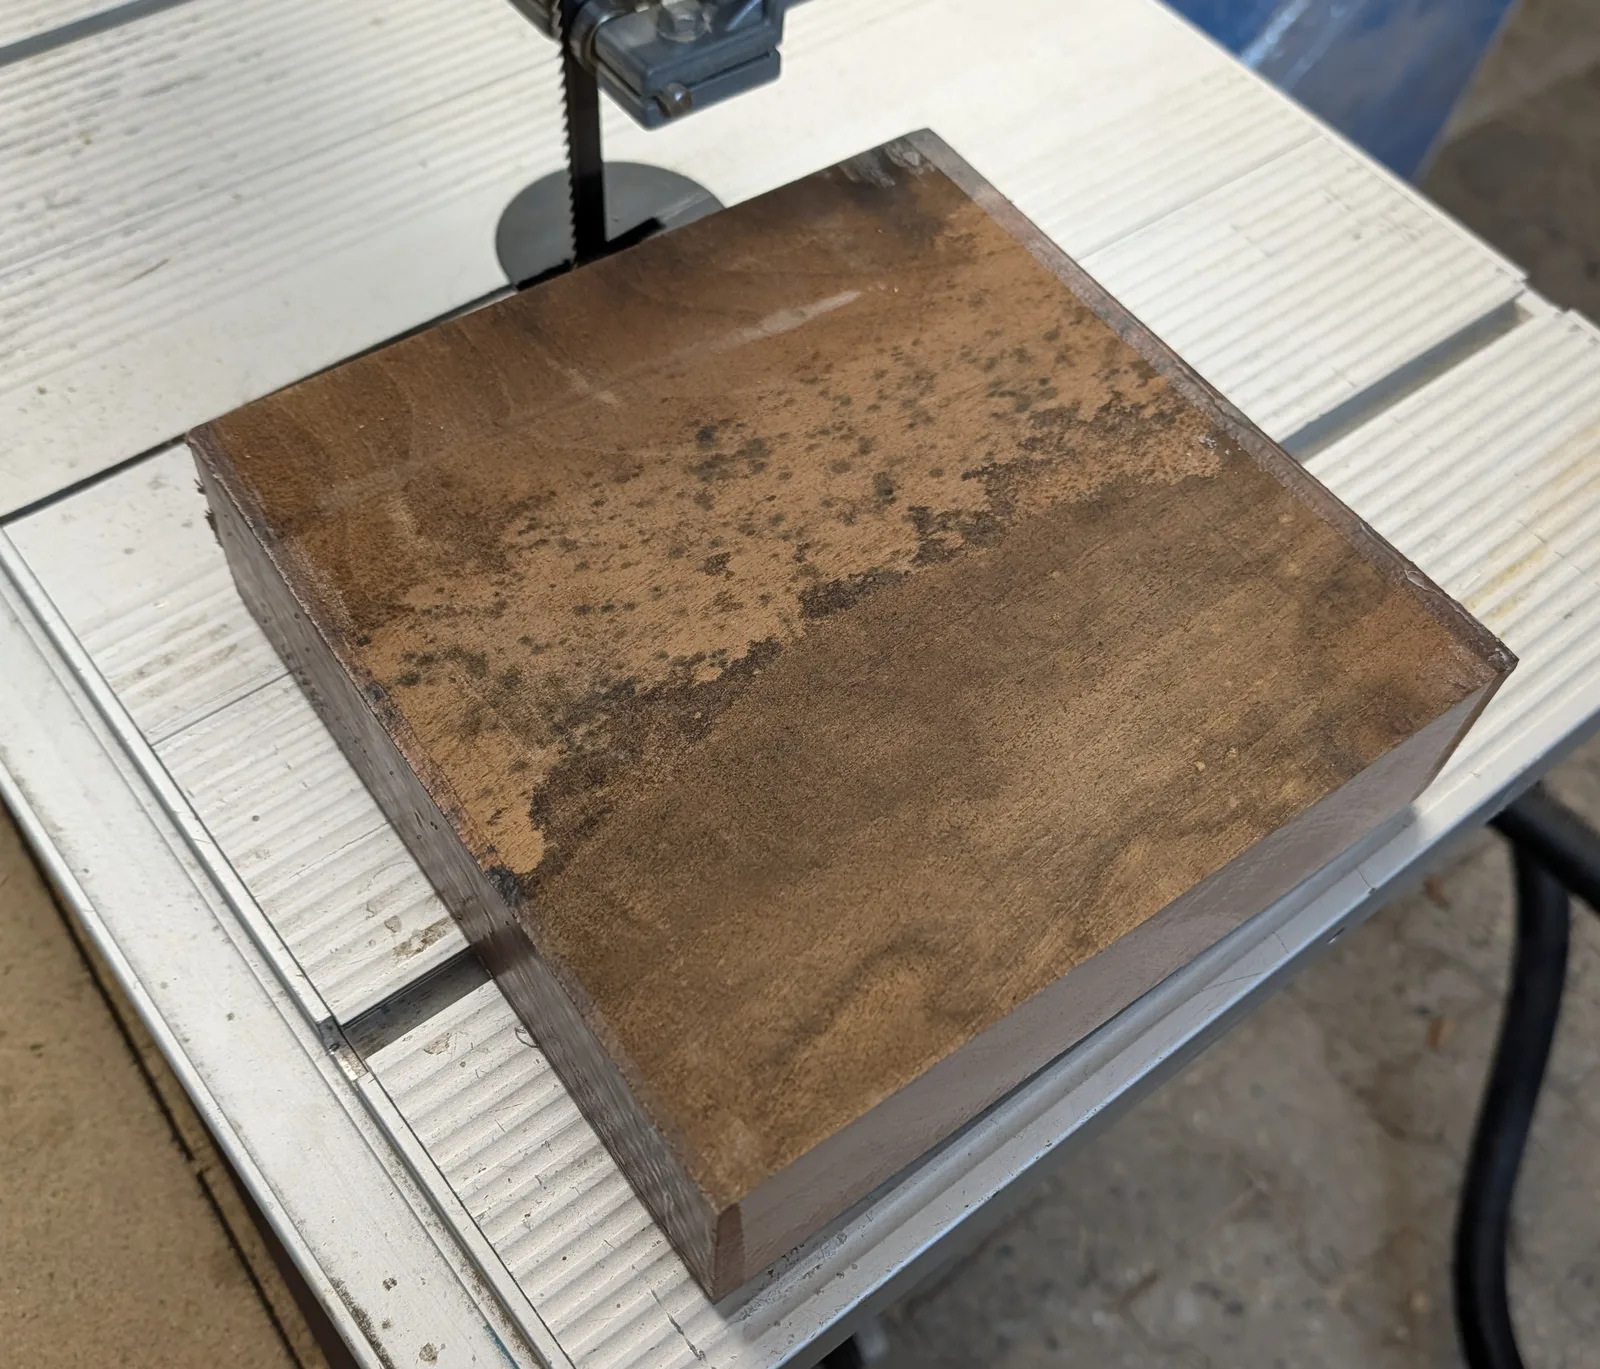
If you’re going to use wood, you want something that is not too soft (avoid pine) and not too porous (avoid oak).
You’re also going to want:
- some woodcarving tools that include a scoop
- a small chisel
- a set of needle files
- a rasp
- sandpapers and a food-safe wood finish
- an ocarina
I recommend having an ocarina to make an ocarina, since it will help you with the tuning.
Theory
So, an ocarina is conceptually really simple. It’s something called a Helmholtz resonator. Basically what that means it’s a hollow chamber, and you direct air at it in such a way that the airstream splits in half: half goes into the chamber, and half goes out. As a result of the air going into the chamber, the pressure inside the chamber increases compared to the outside. This means that now, more of the airstream is going to go outside of the chamber… which in turns makes the pressure inside the chamber decrease compared to the outside. And so, more of the airstream is going to go inside the chamber. The airstream waggling back and forth is what makes the tone.
If you didn’t really understand that, that’s fine. What this means is that really an ocarina has three components:
- a hollow of some kind
- a way to blow an airstream at the hollow
- a way to split this airstream in half
And they’re really simply to make. Seriously. You can make one. This guy can make one. You can make one.
Rough shape
Making a hollow inside a block of wood is generally a three-step process: you cut it in half, you scoop out the insides, then you glue it back together again. My block of walnut is 20cm by 20cm by 5cm, which is probably about enough to make 3-4 ocarinas.
You probably want each half to be about 1.5 to 2cm deep thick. Cut out your rough shape, and then draw where you intend to carve.
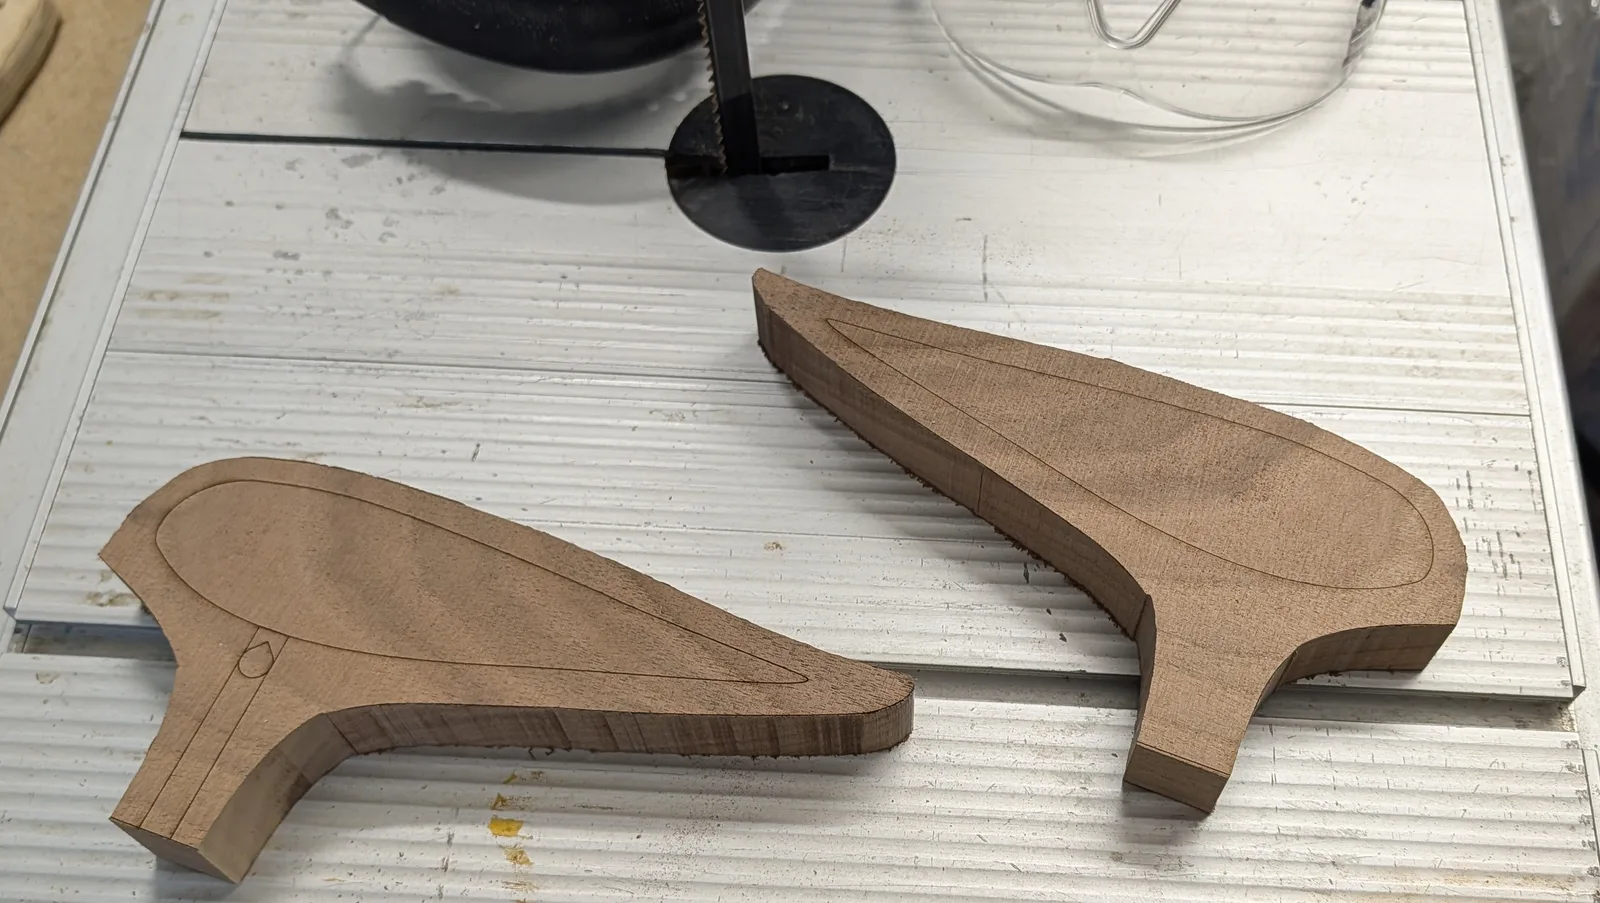
If you know much about wind instruments you can probably already see the mistake I’ve made that I’ll need to fix later.
Whittle it
While it’s tempting to start by whittling the outside, it’s a good idea to do the scoop part first, while you still have a flat surface. Don’t worry too much about the size of the chamber; realistically you’re not going to hit the “Alto C” on your first try: your goal here is just going to make it be in tune with itself.
Do your best to get the inside chamber as smooth as you can. 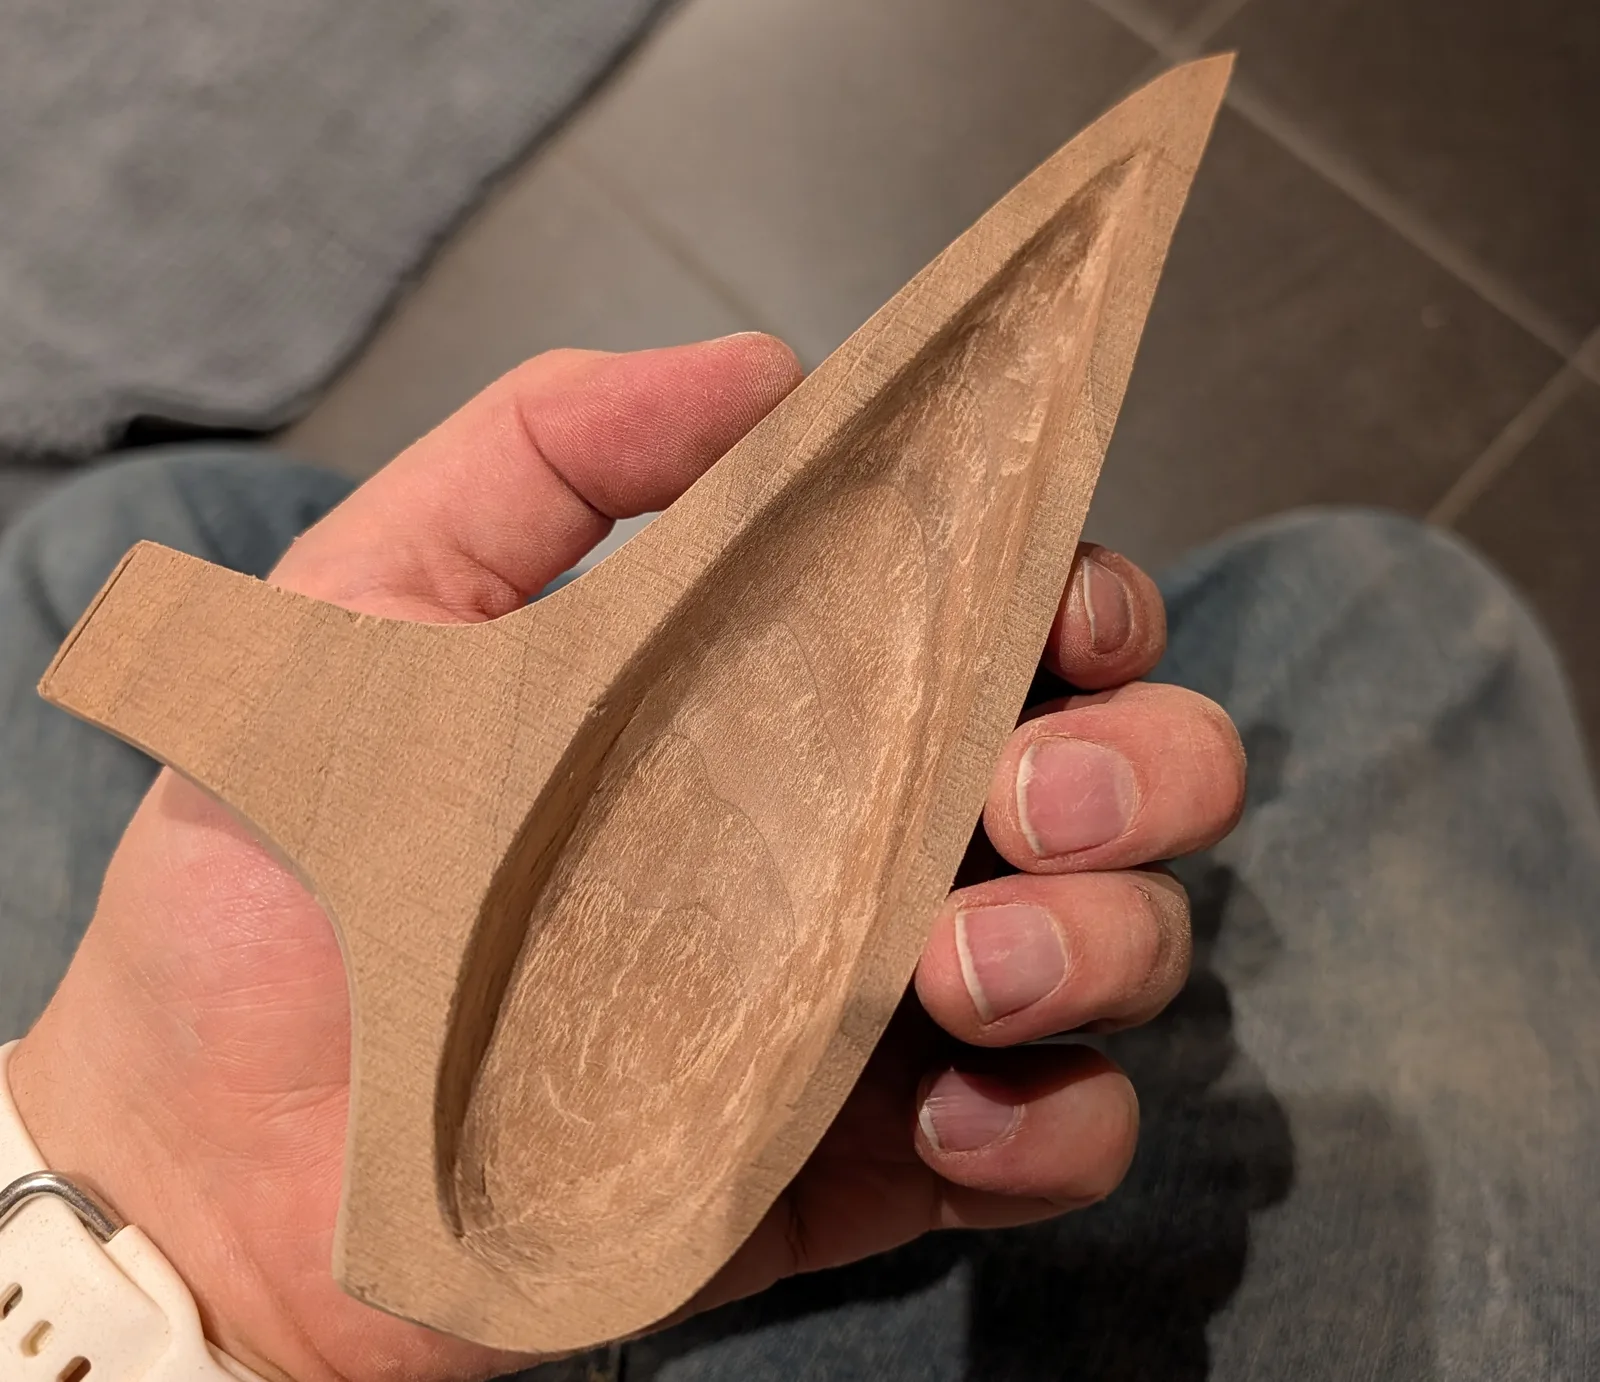
Cut the voicing
Now, drill the voicing hole, and start whittling it down from the outside, making as sharp and smooth an edge as you can.
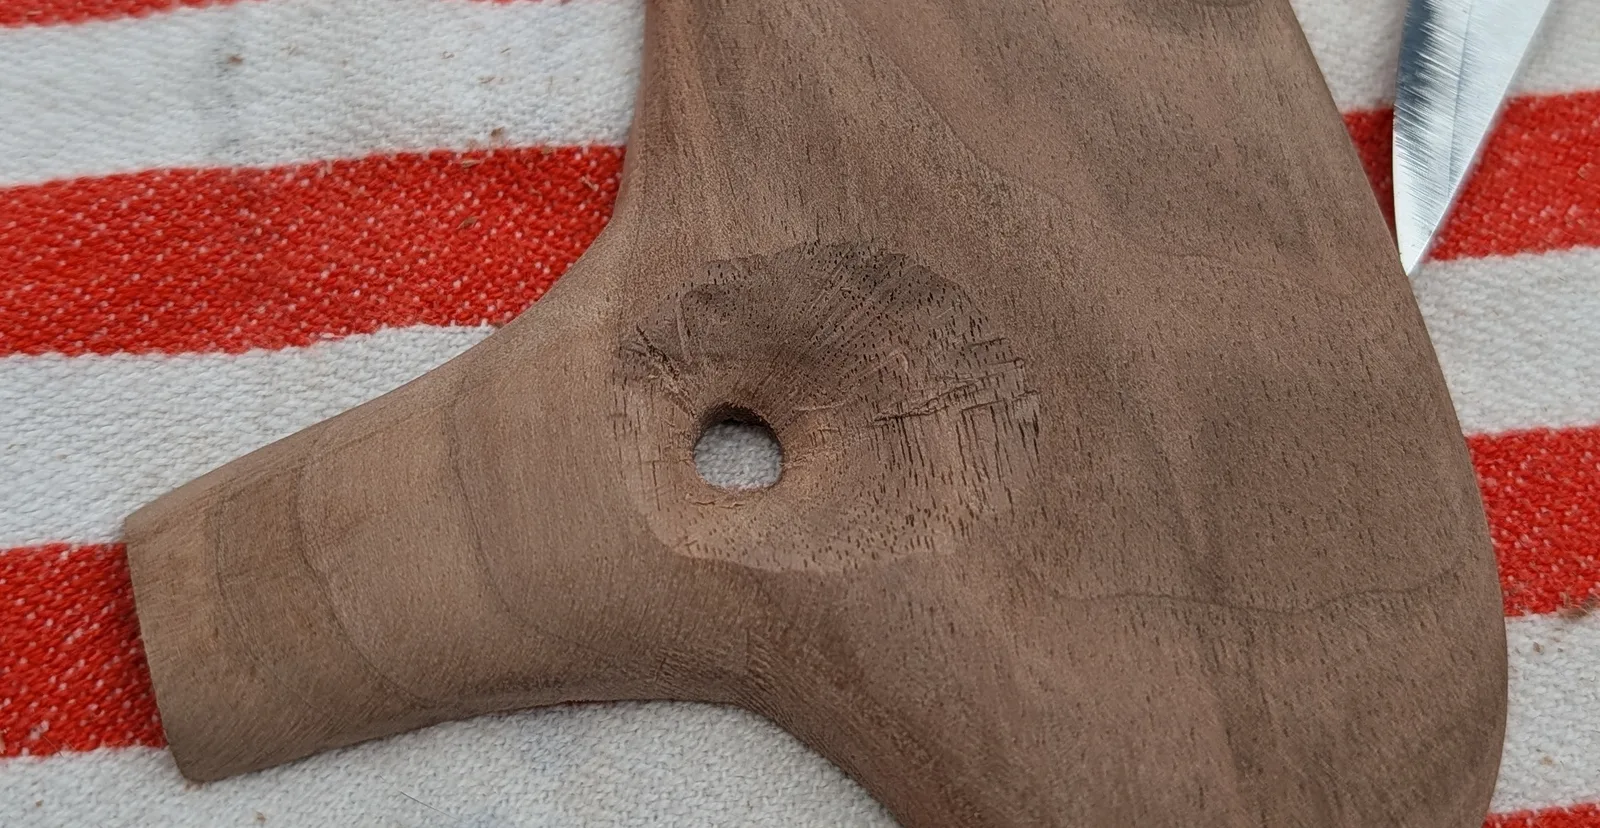
The wood grain is going to make carving this out a real pain. You’re basically whittling down in more or less a circle – in some directions it will cut like butter, in others it will chunk out larger pieces than you intend. So make small cuts and expect it to not be as pretty as you hope.
Once it’s cut, sand it as smooth as you can.
Cut the airway
Remember, you’re trying to cut the airstream in half. So the airway should be twice as deep before the voicing as it is after the voicing.
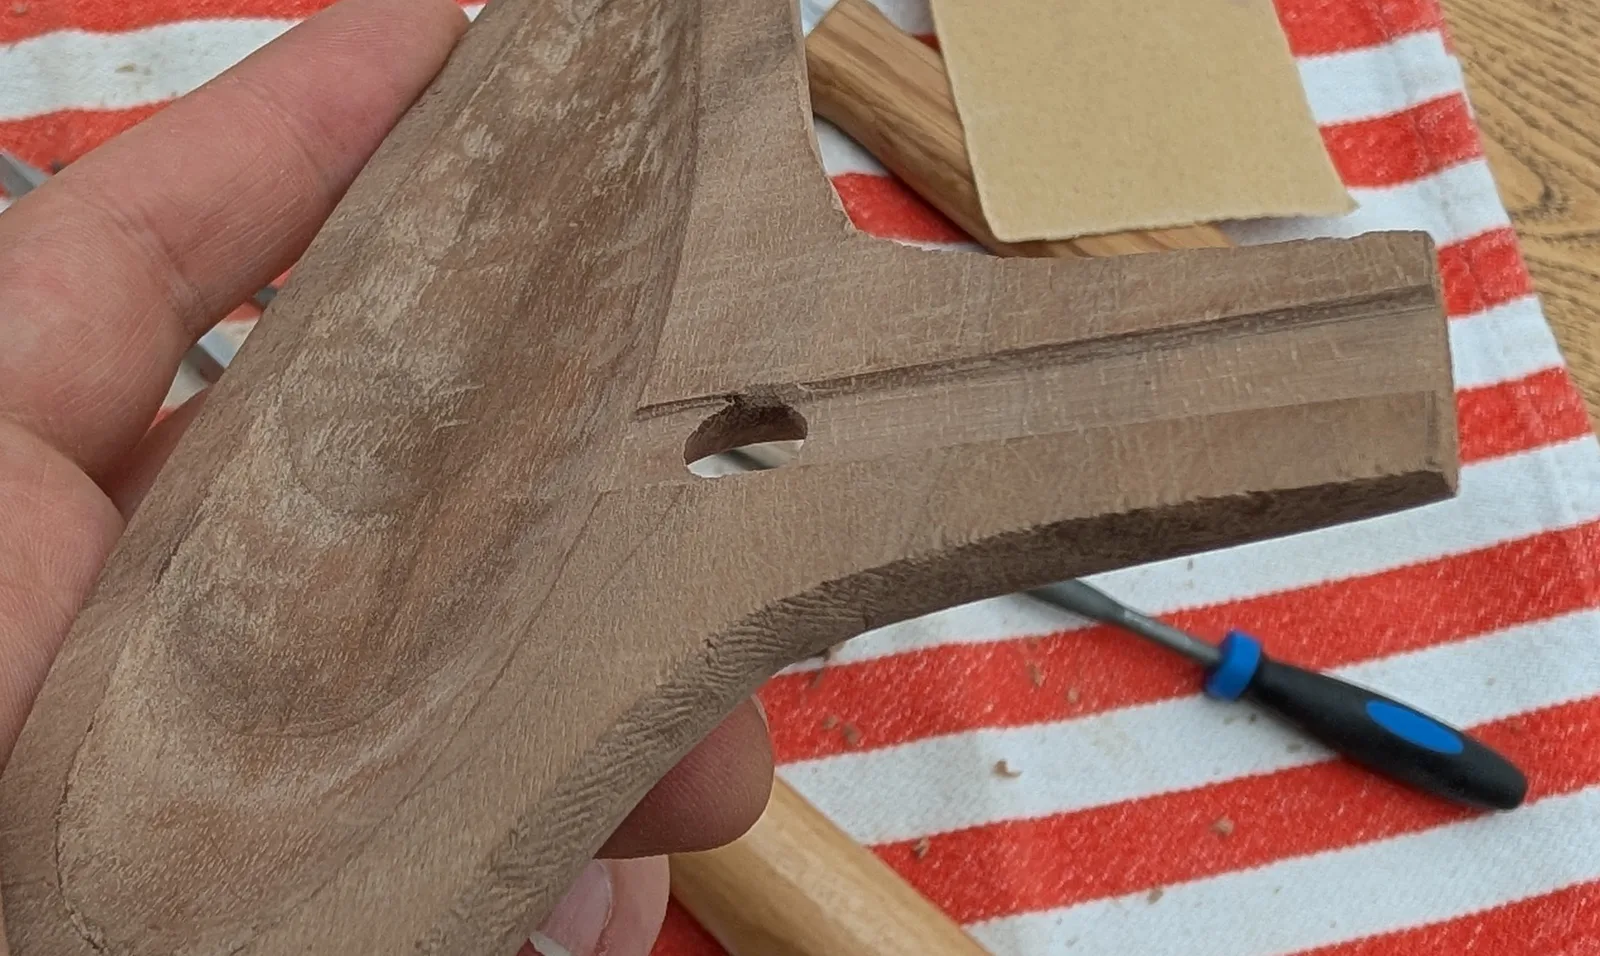
Use a narrow chisel to carve it out. Start by using the chisel to break the fibers vertically along the edge of the airway, and then start scraping out the wood. Don’t use a mallet here, just hold the chisel. And do this carefully. Your goal is to minimize turbulence as much as possible, so you want this smooth as possible.
Then use your flat needle file to smooth everything out even more.
Test it
Now you’re ready to put the two halves together and see what it sounds like!
Mine, unfortunately, did not make any sound at all. Whyever could that be?
Ah, yes, that would do it.
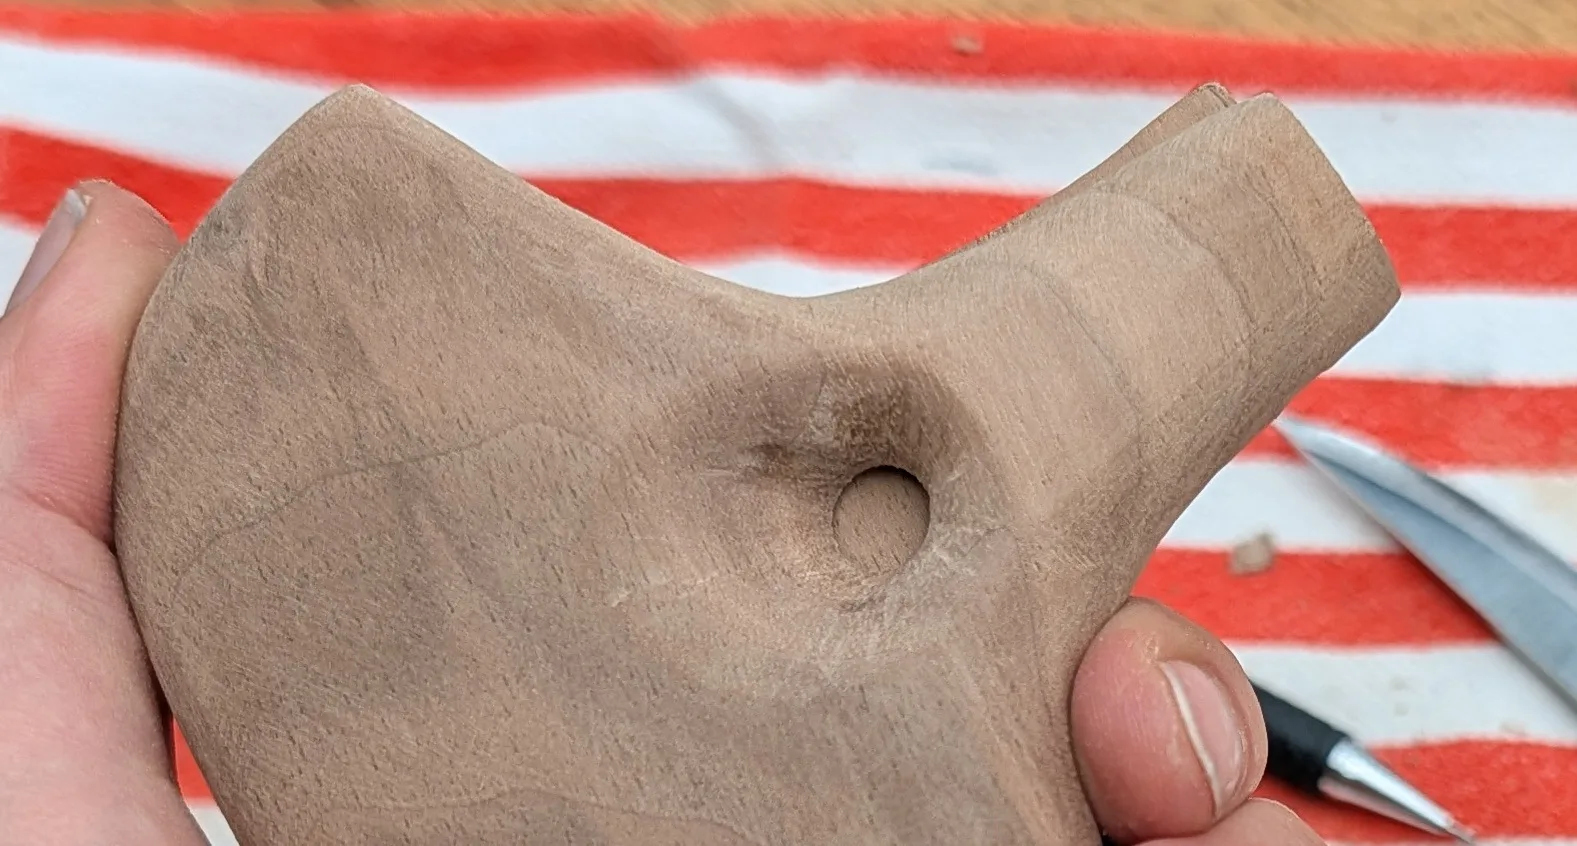
If you check my original design, I did not extend the chamber on the top part. The voicing needs to be in the chamber.
OK, hasty fix:
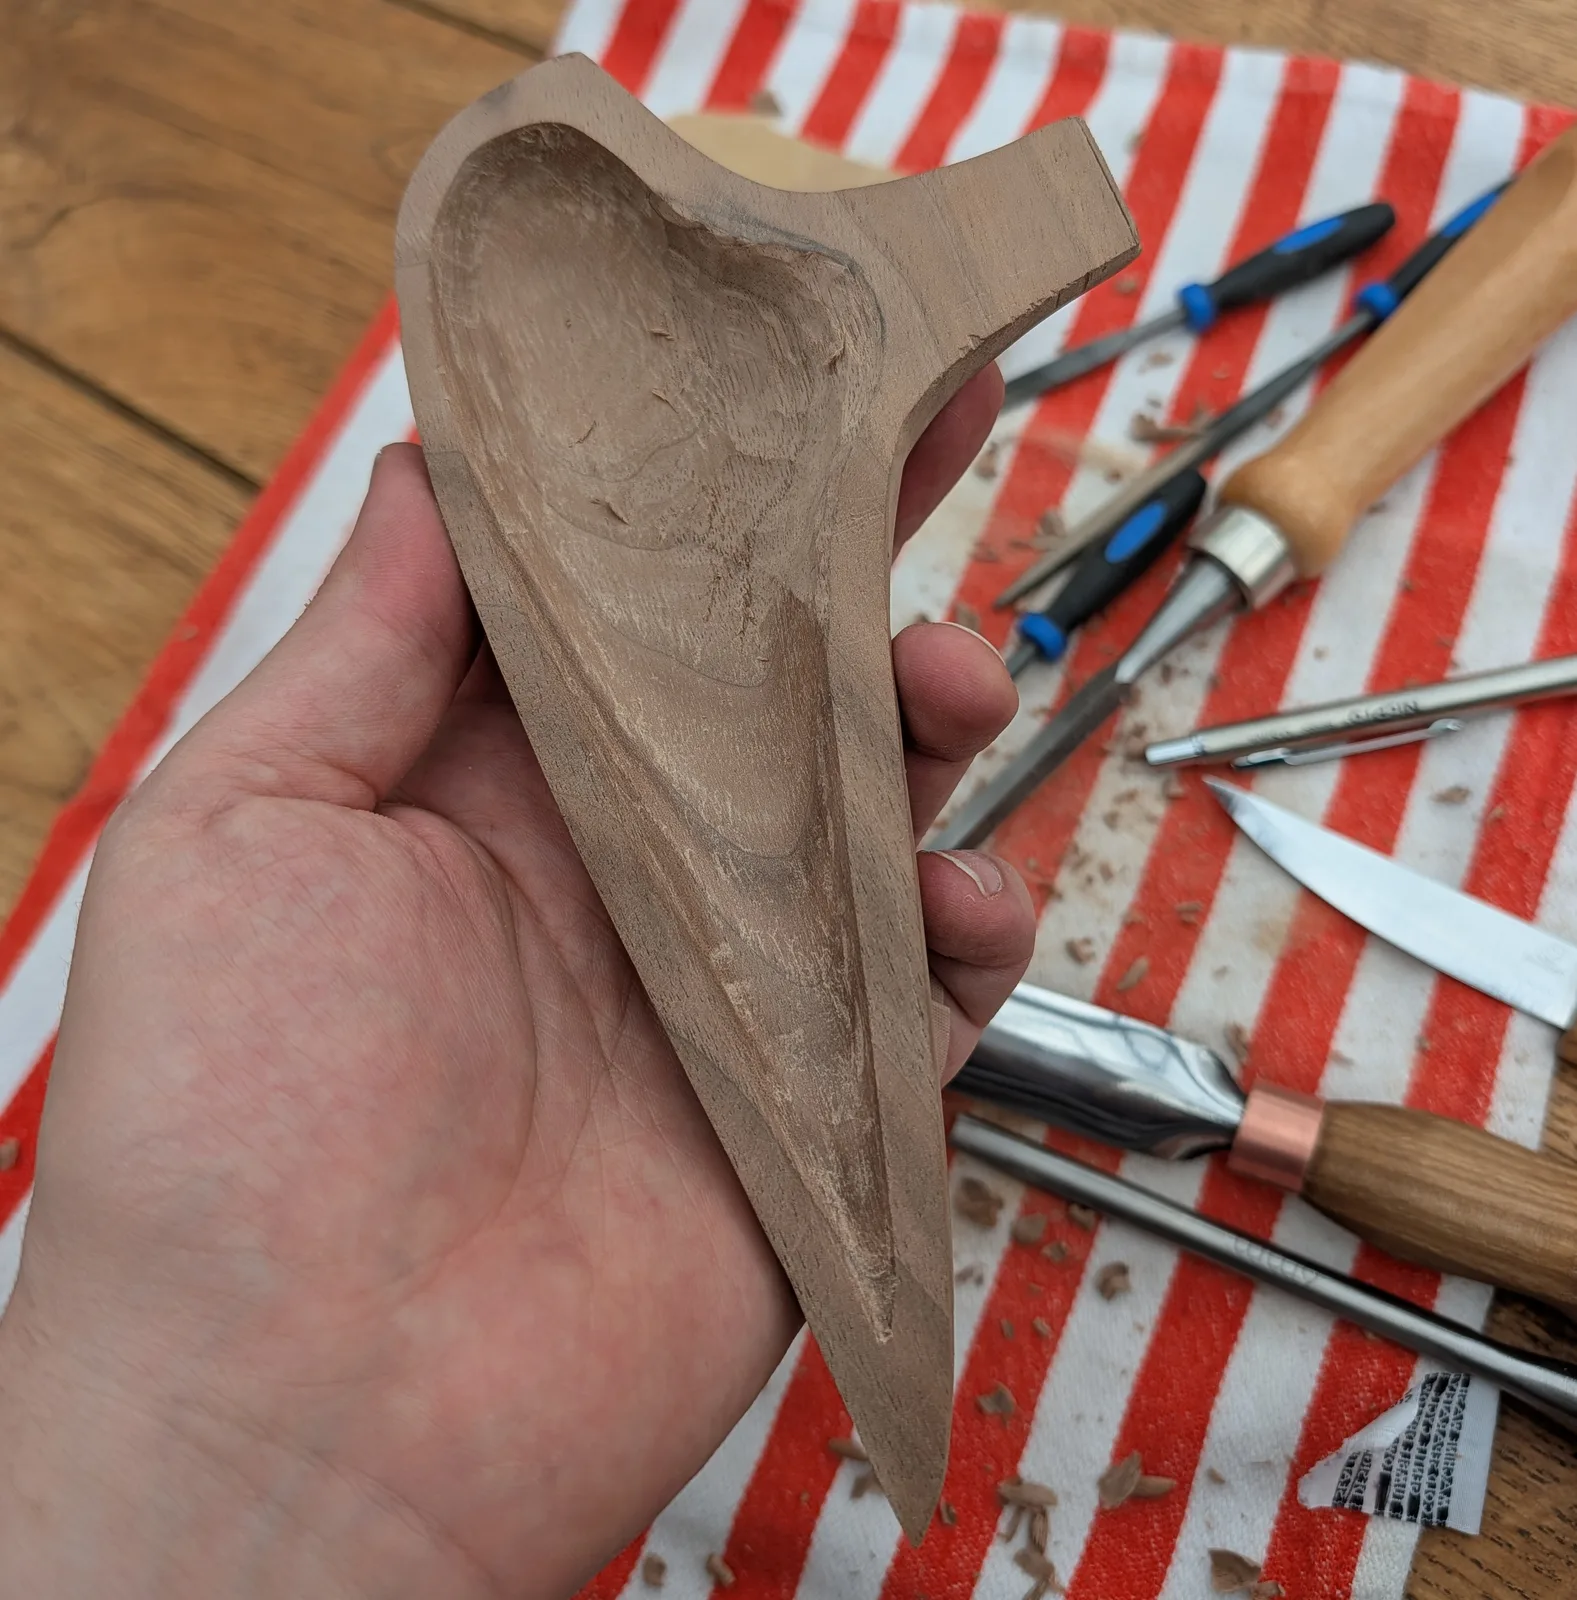
And now we try it again, and we have the ocarina’s base tone!
Glue it
Place some sandpaper on a flat surface, and smooth out the contact area on the two halves to make them as flat as possible, then glue them together.
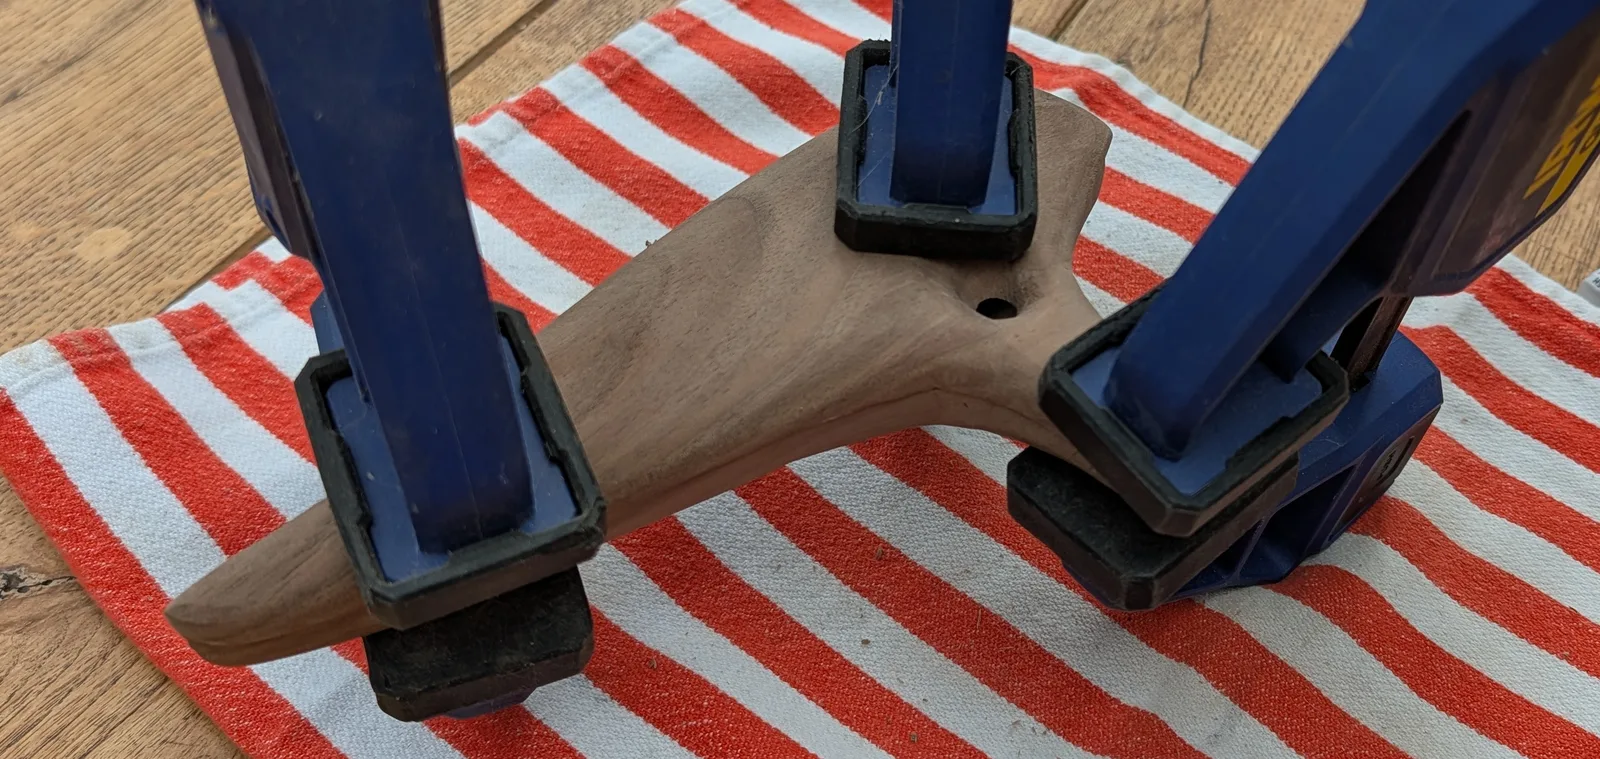
After leaving it overnight for the glue to cure, you can do the final shaping with a rasp, sandpaper, whatever you like.
Drill the holes
If you’re very lucky, the base tone you have is a C, or at least pretty close to a whole note boundary. If that’s the case, you can tune the ocarina with a tuner. Otherwise (much more likely), you’ll have to do it by ear.
When tuning, be aware that the pitch of an ocarina is very susceptible to breath pressure. That is, the harder you blow, the higher the pitch. Like, a lot.
You generally want to blow harder on the higher notes, but for the thing to be playable, you want a good “breath pressure curve”. That means that you want the ocarina to be in-tune with roughly even increases in breath pressure as you go up the scale.
The method to tune it is pretty simple:
- drill a hole hole, and blow
- expand the hole with progressively larger drill bits until it is the correct pitch
- repeat, until you have done all the holes
Or if you prefer, drill all the holes2 first with a small drill bit, and then expand each one. When tuning, I find it’s helpful to play the full scale of holes drilled so far, in order to help account for breath pressure.
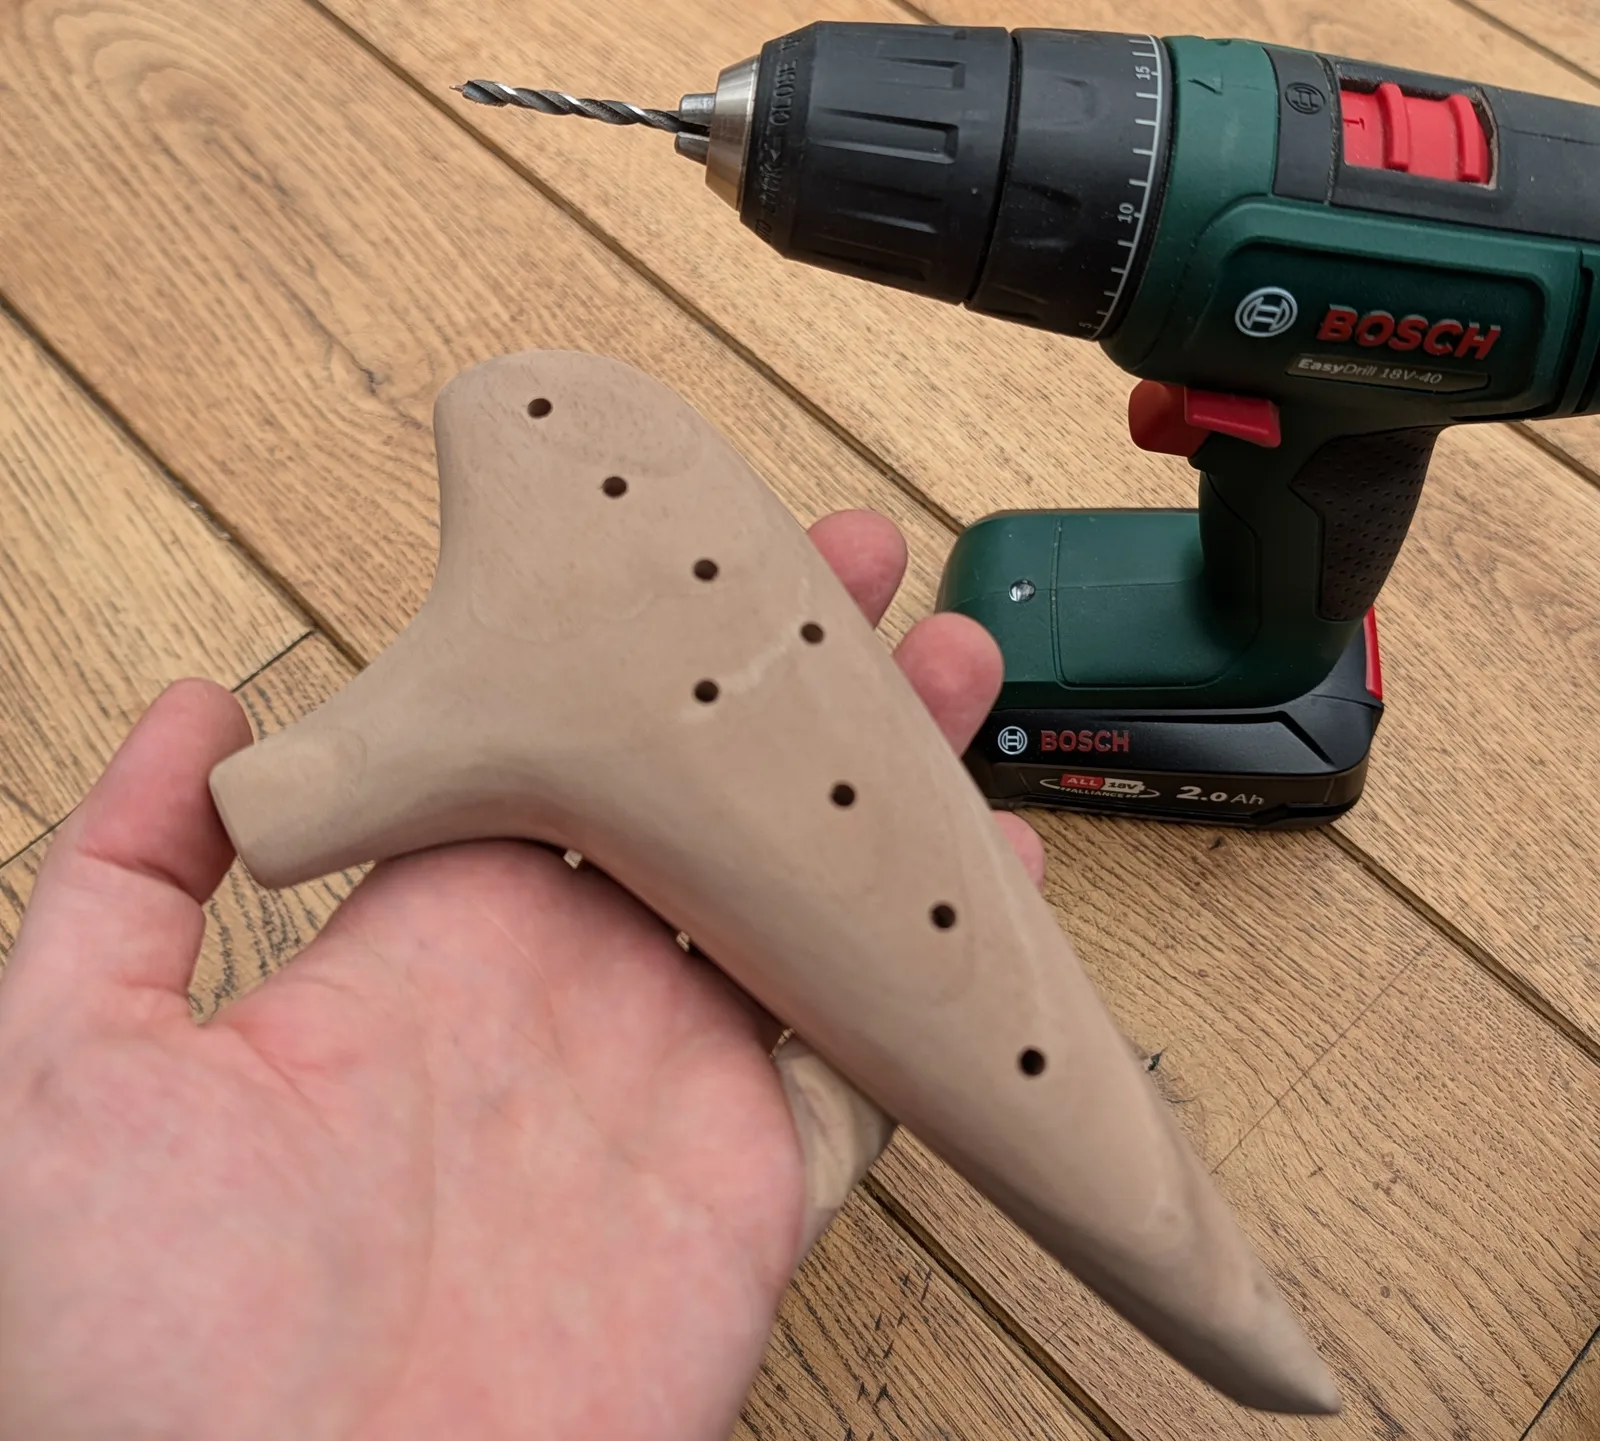
As you can see if you look closely, much like almost every wood carving project of mine, this has extracted its blood sacrifice from me.
Finish the wood
Now sand it as smooth as you like, and finish it with whatever (food-safe) wood finish you like, and you’re done!
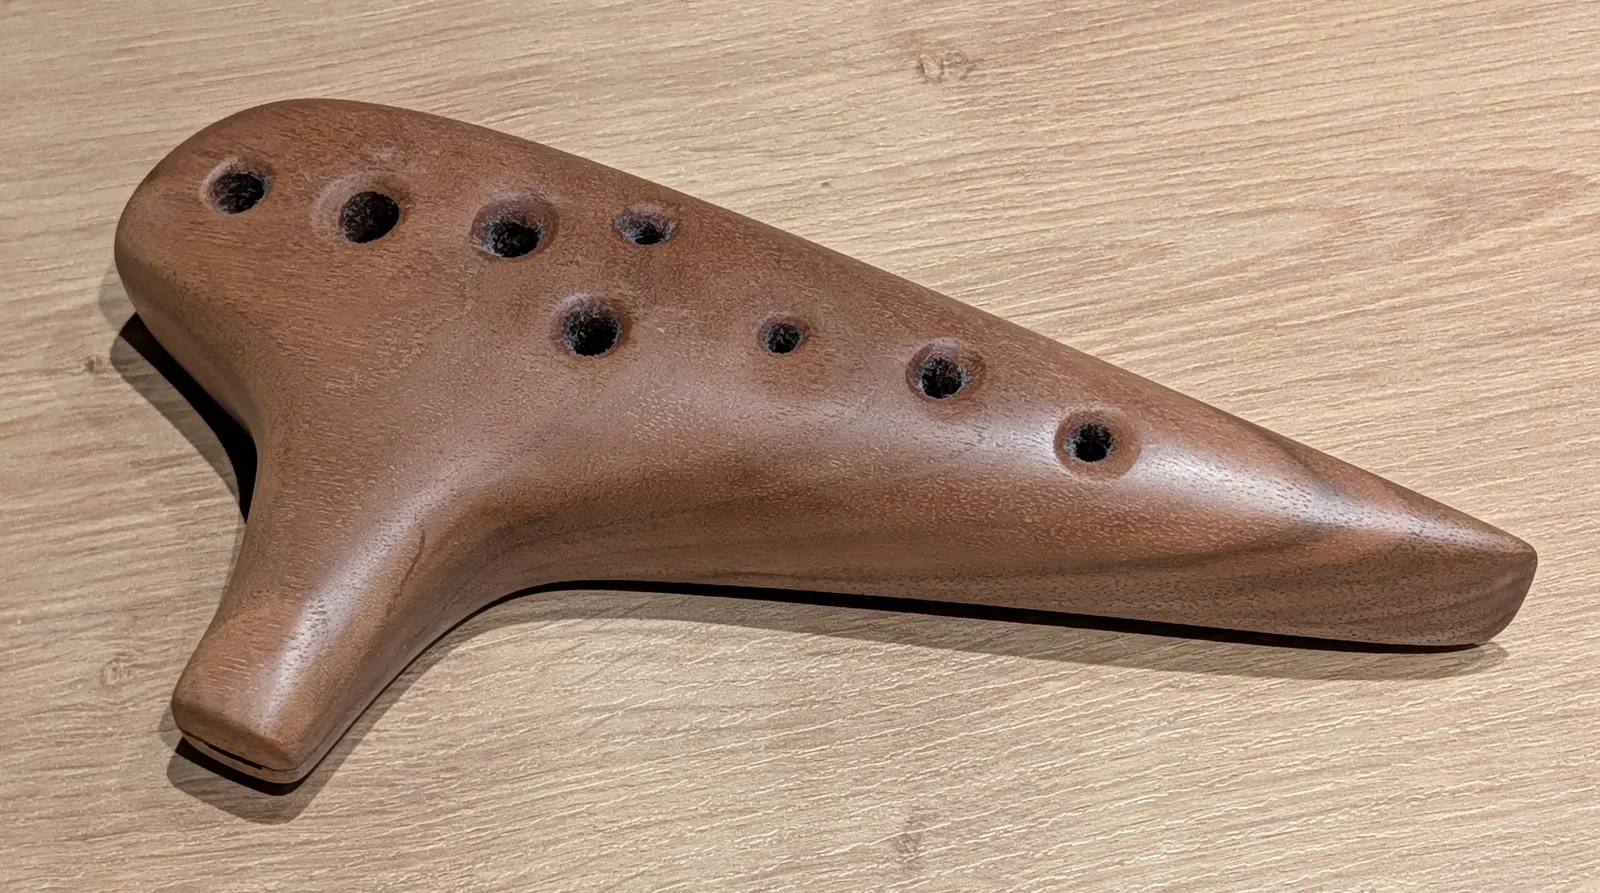
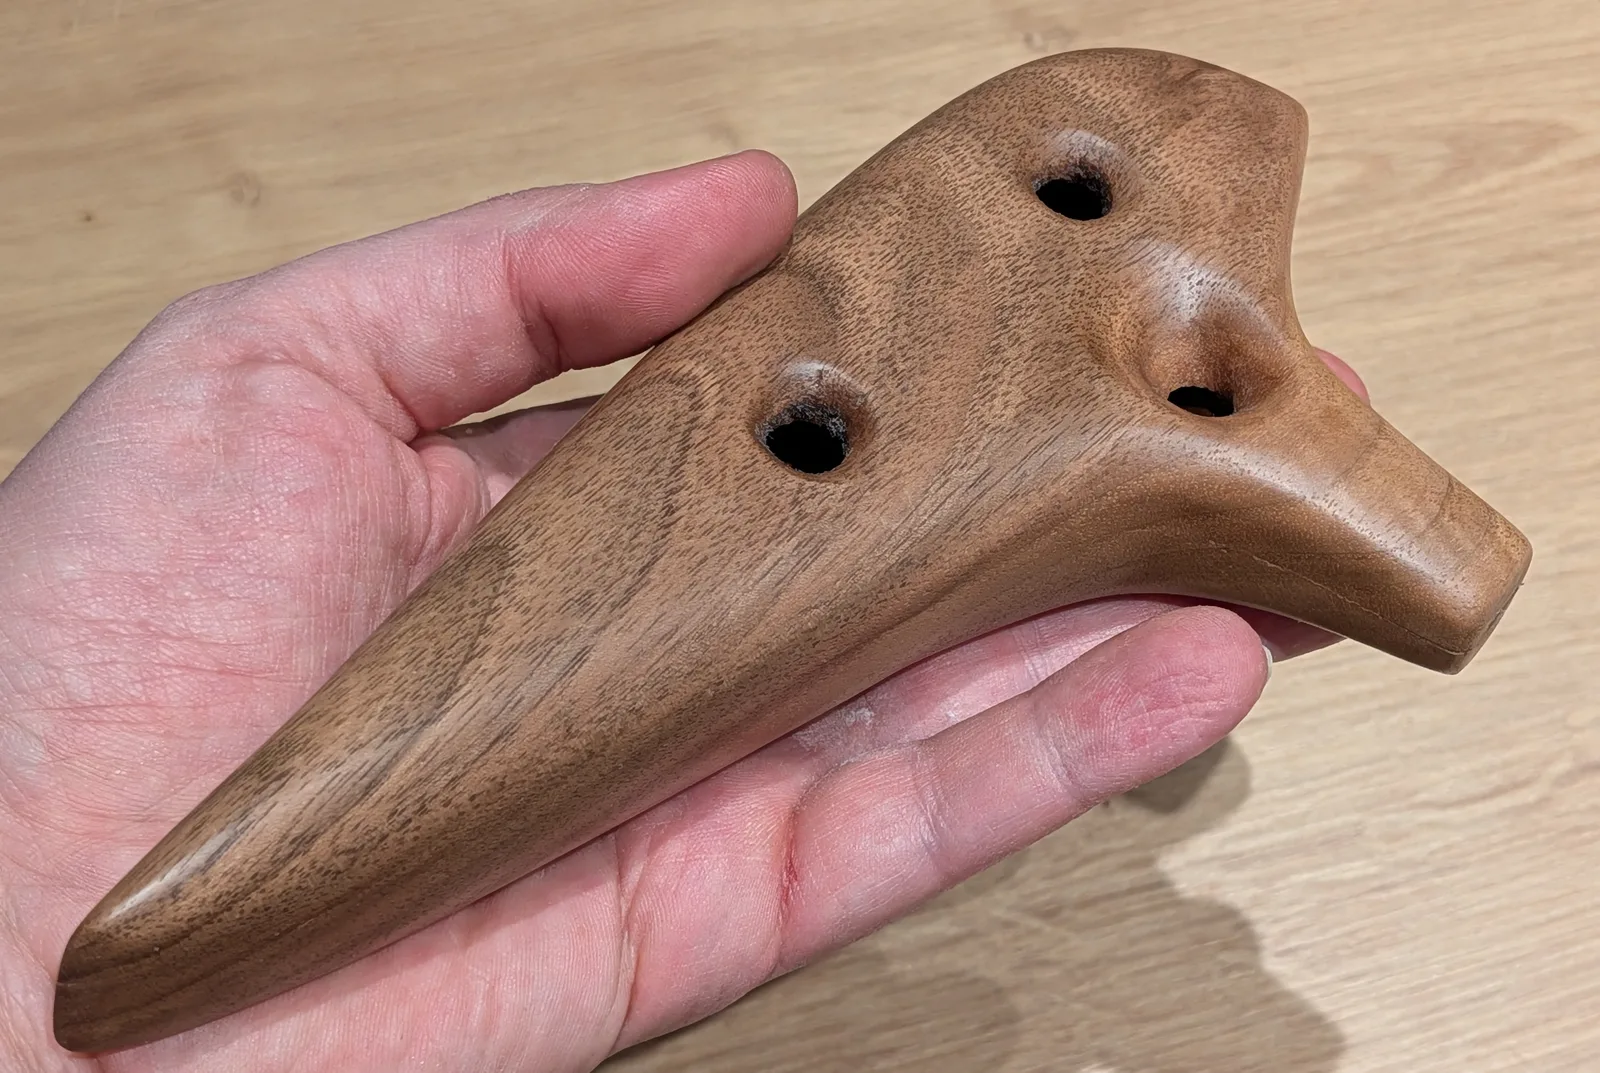
Enjoy!
Footnotes
Before you scoff at the idea of a plastic instrument, Night By Noble is probably one of the best beginner ocarinas around. If you’re going to make an ocarina, you should probably own one first. And if you’re in the market for a first ocarina, get a Night By Noble. ↩︎
I would strongly recommend making a 10 hole ocarina rather than a 12 hole. A 12 hole ocarina pushes the concept of an ocarina pretty much to its limits. And you basically don’t ever really need the two teeny holes. If you make them, there’s a good chance it will ruin your ocarina, since it lowers the pressure inside the chamber (since they are open by default). ↩︎