Weaving a bracelet on a frame loom
Here’s how I make woven bracelets on a frame loom. As far as weaving goes, you’ll need to know how to do a basic hem stitch, and how to tie the two simplest knots in existence: the overhand, and the square knot. I wrote this blog post because I spent way too much time figuring out how to attach the ends to each other.
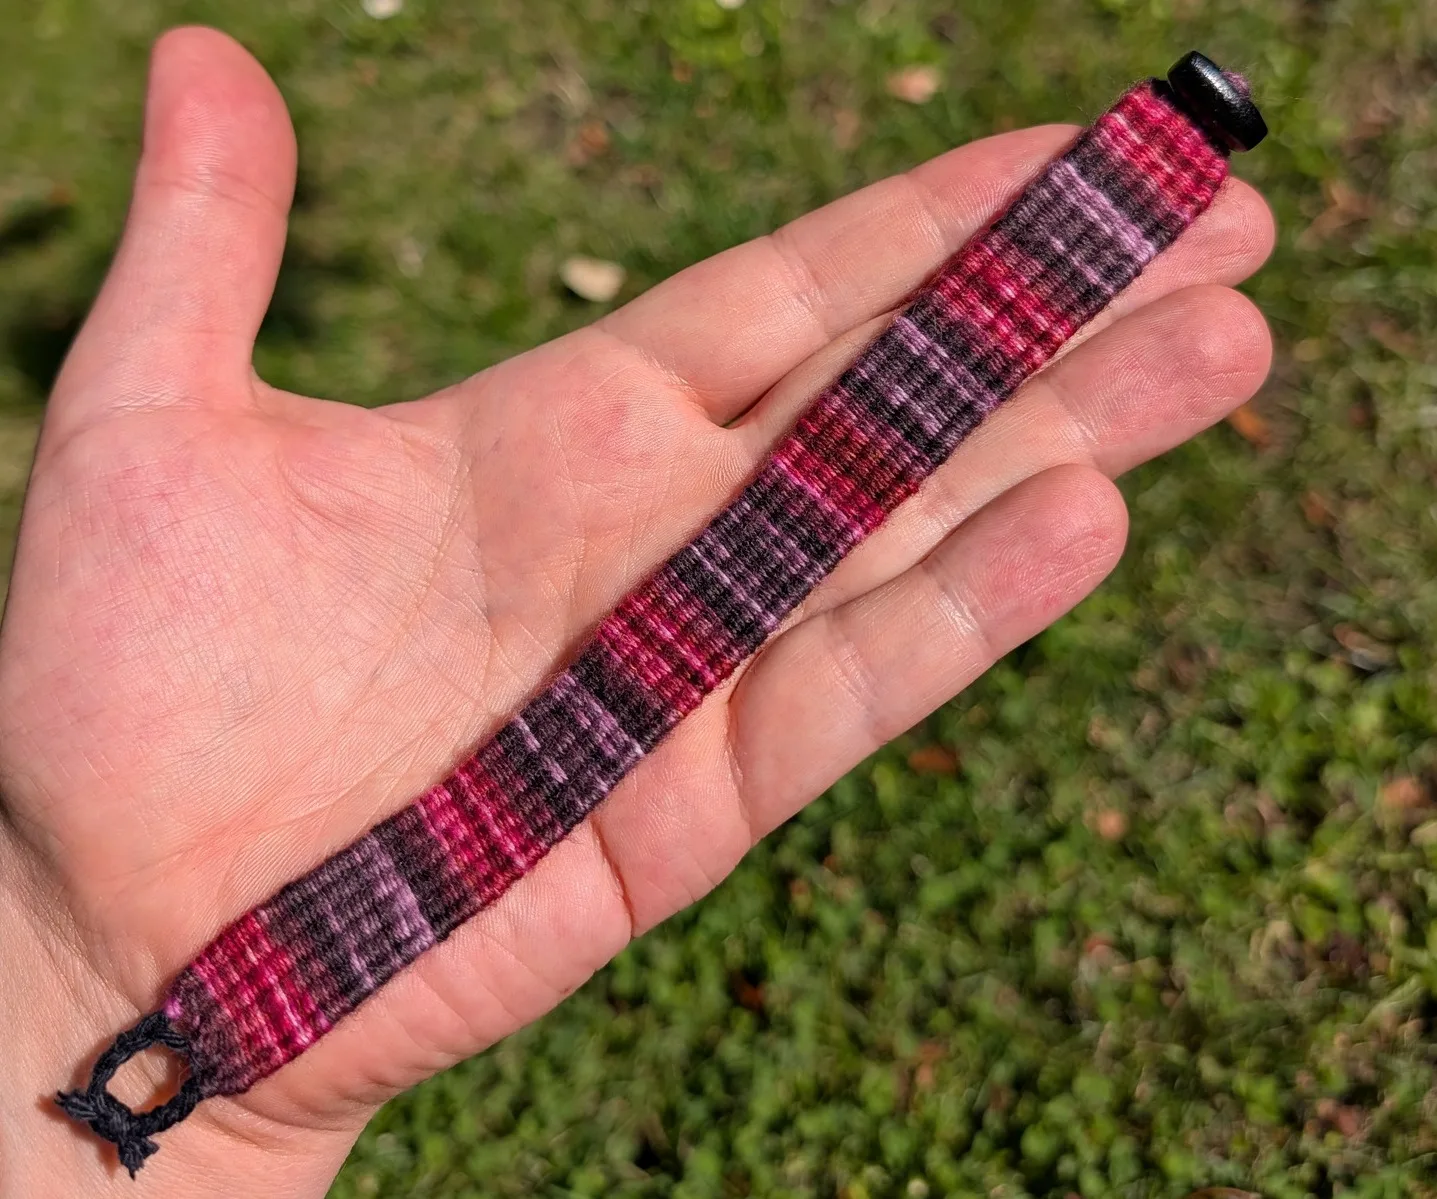
Materials
You’ll need a yarn for the warp, a yarn for the weave, and a toggle button.
For the warp: If you’re going to use a loom with a rotating heddle (such as from the generator I wrote), you’ll want to warp the loom with yarn that won’t mind getting combed in the same spot for every line of your weave. You’ll end up entirely covering it for the body of the bracelet anyway, it’ll only be visible on the clasp, so choose a color accordingly. A bog-standard cheap cotton yarn is fine, just avoid anything “fluffy” or “fuzzy”. I recommend using six warp threads, since this will make the clasp easy.
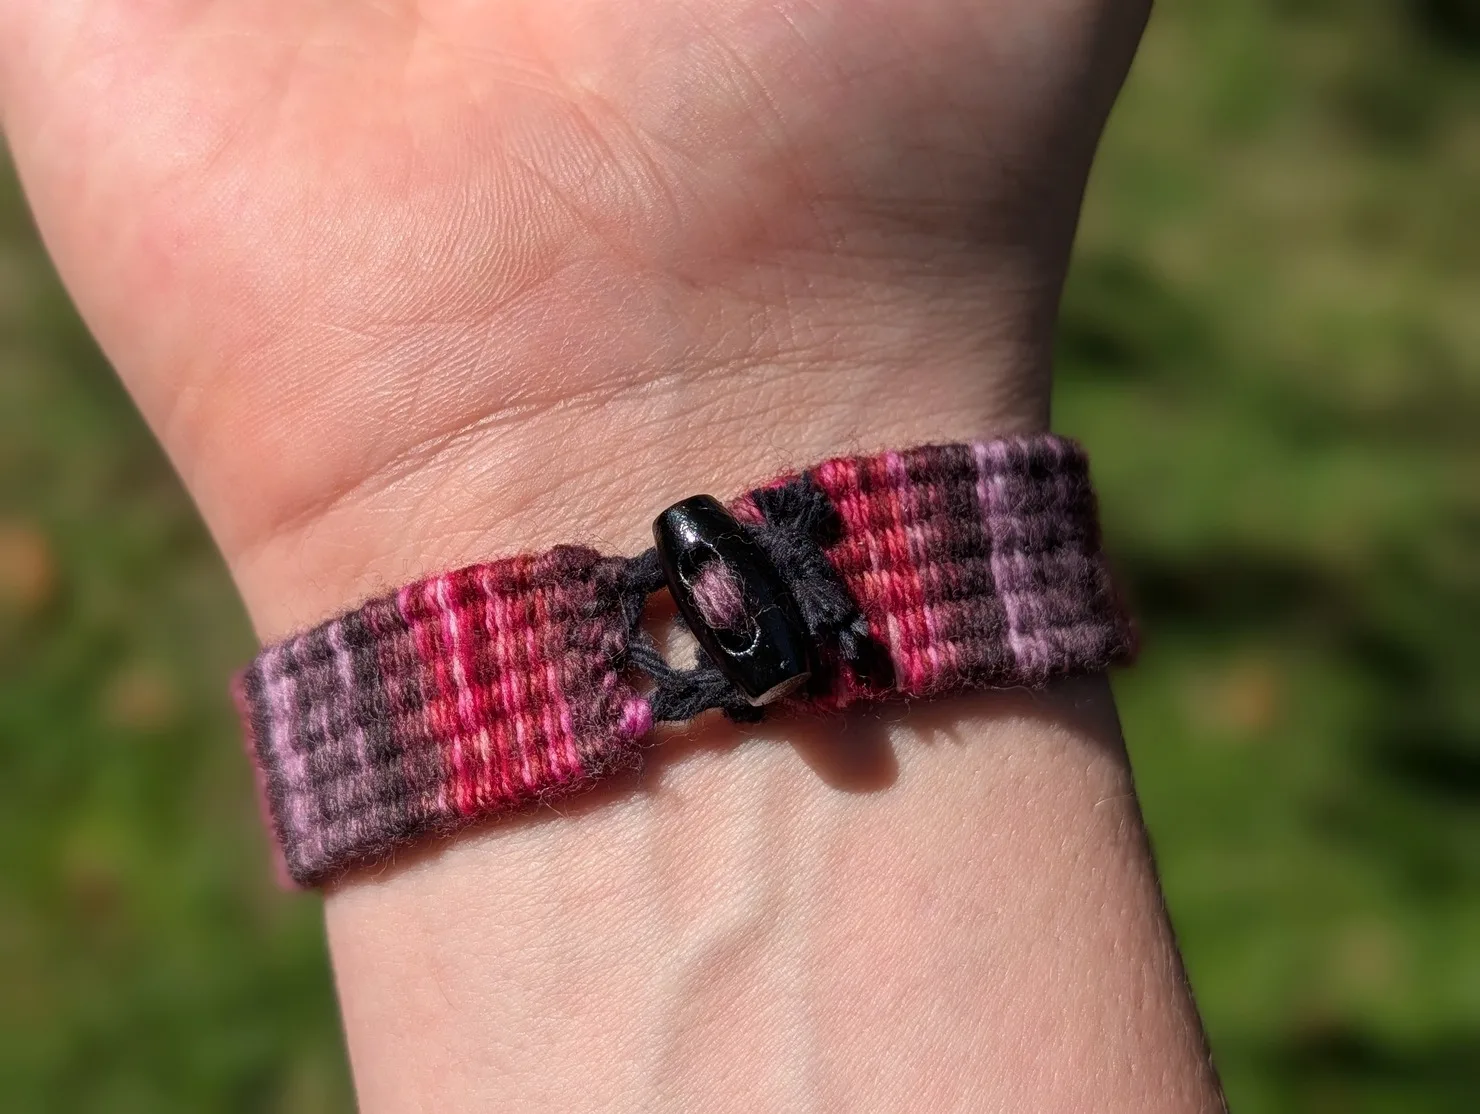
For the weave: pick something pretty and something that feels nice. My friend Ellen at Twisted Sunset Sisters made this absolutely beautiful wool yarn with a custom dye job she called “Raspberry Mocha Swirl”. I cannot get over how great it is, both in terms of color and niceness to work with. 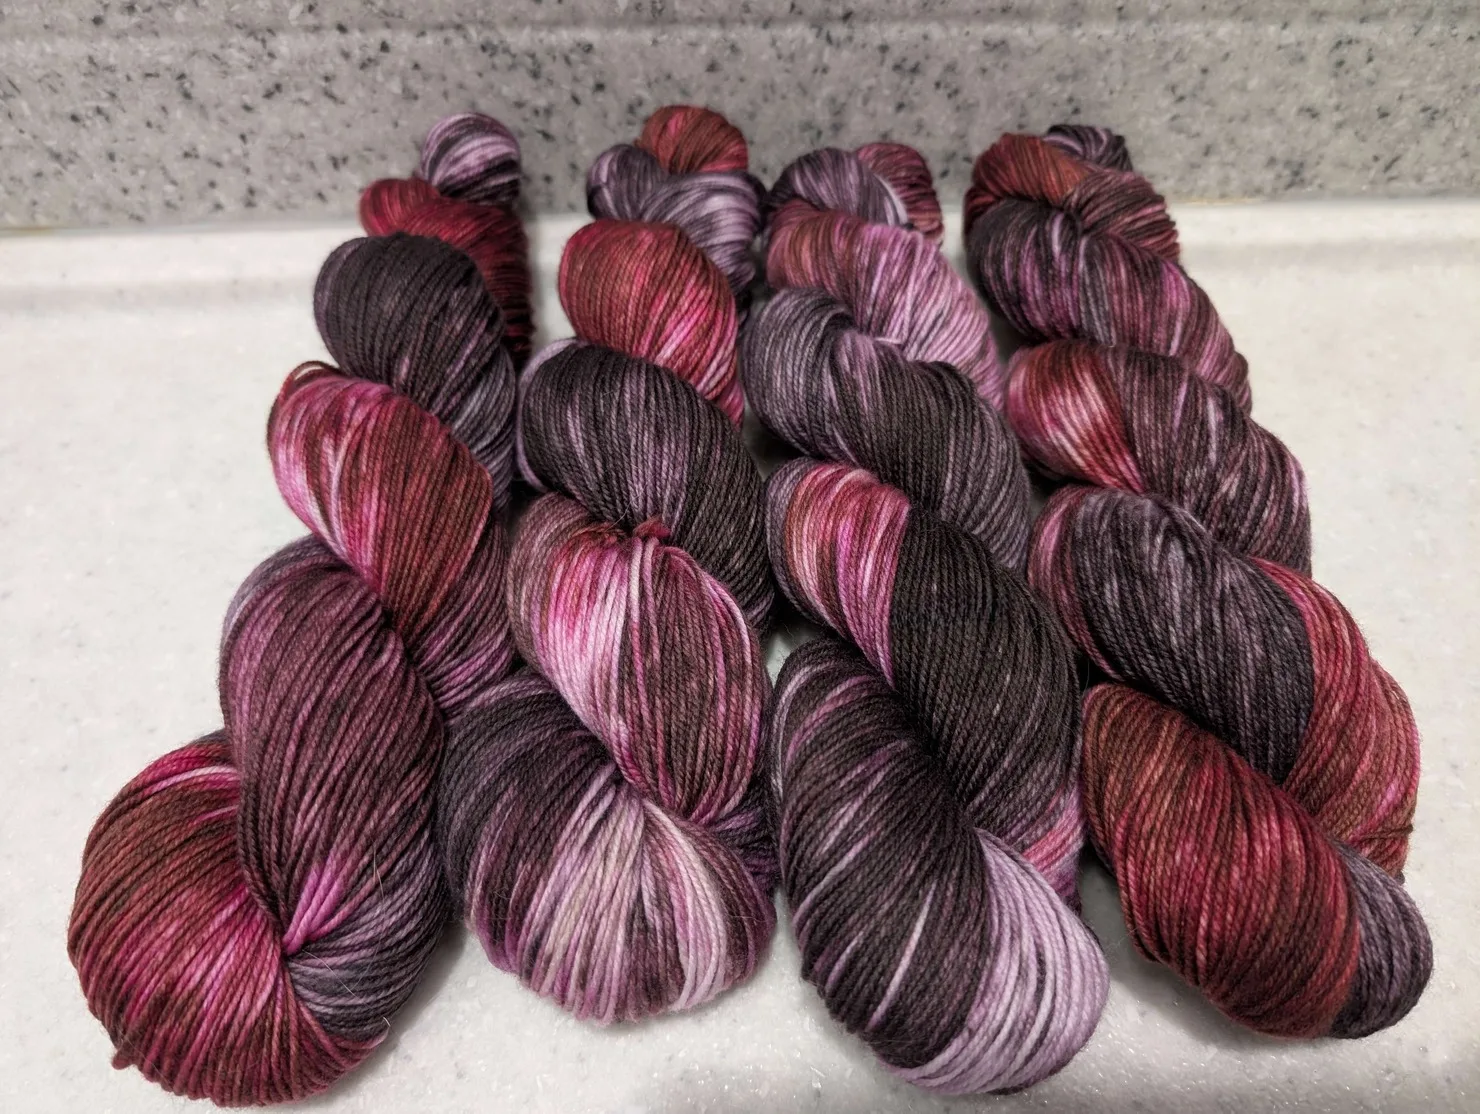 If the fiber is thinner than your warp fiber, that’s totally fine.
Weaving the body
You want the woven part to be pretty close to the circumference of your wrist, though a little longer or a little shorter is fine. You’ll also want to pack the weave reasonably tightly, because you don’t want the warp threads peeking out of the finished bracelet.
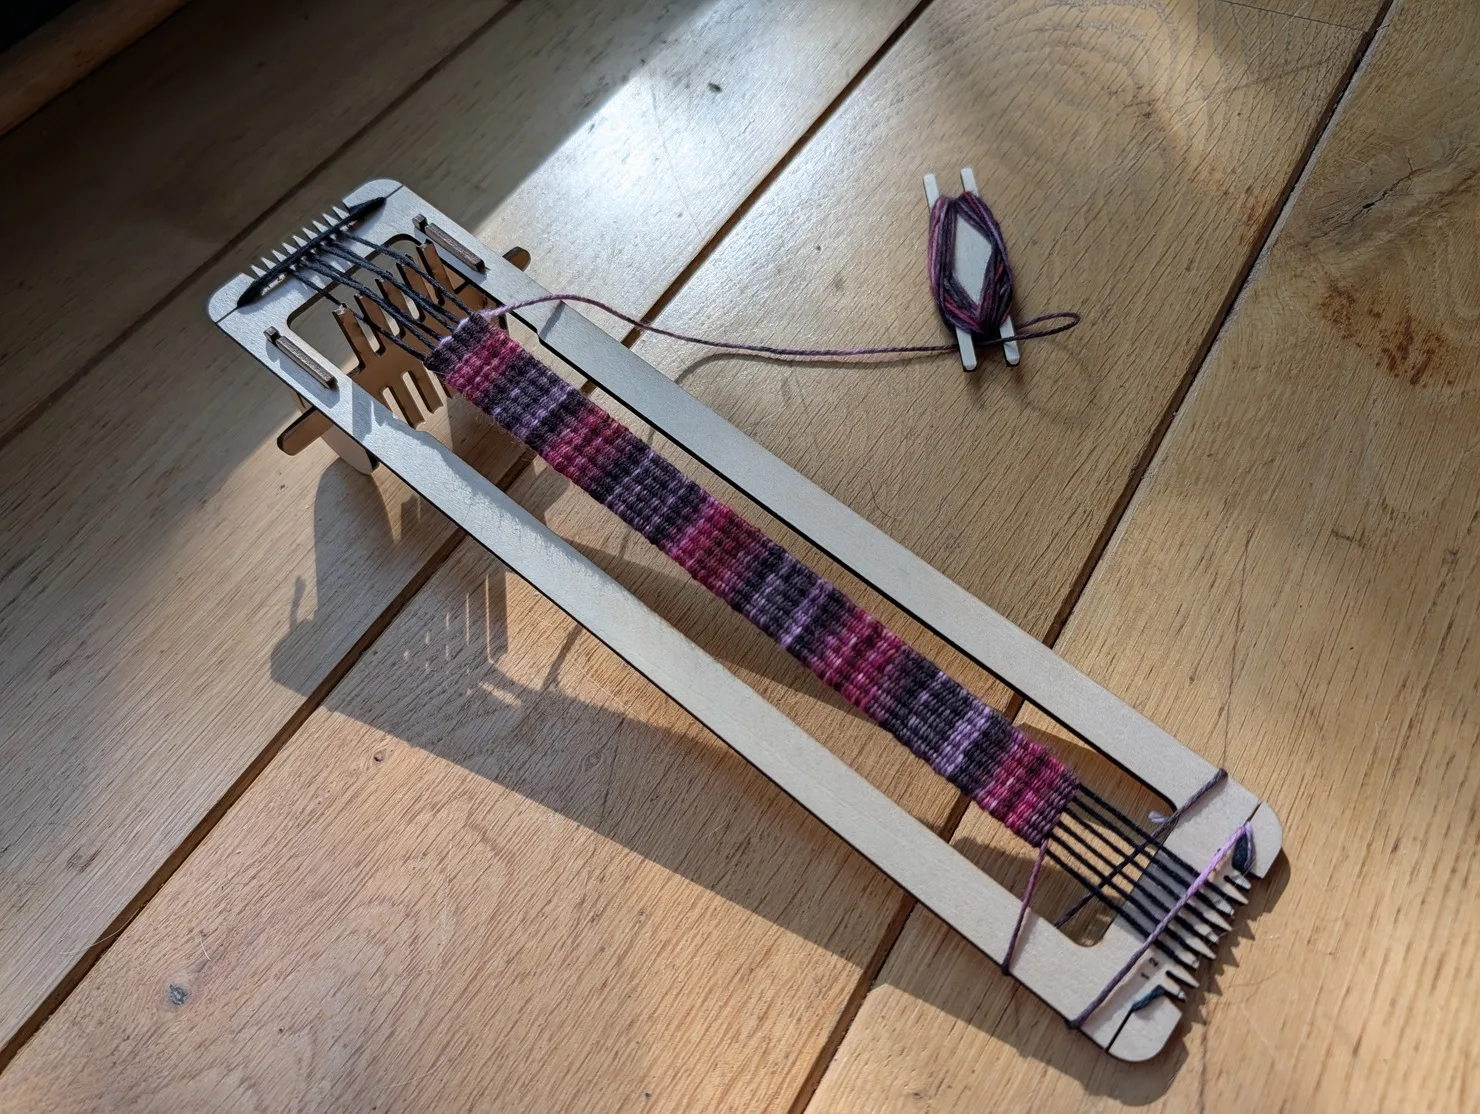
Do your hem stitching before you remove the piece from the loom. We have six warp threads here, so stitch them into three groups of two, and then weave the excess yarn back through the piece a bit before trimming it off. Now, you can remove the piece from your loom.
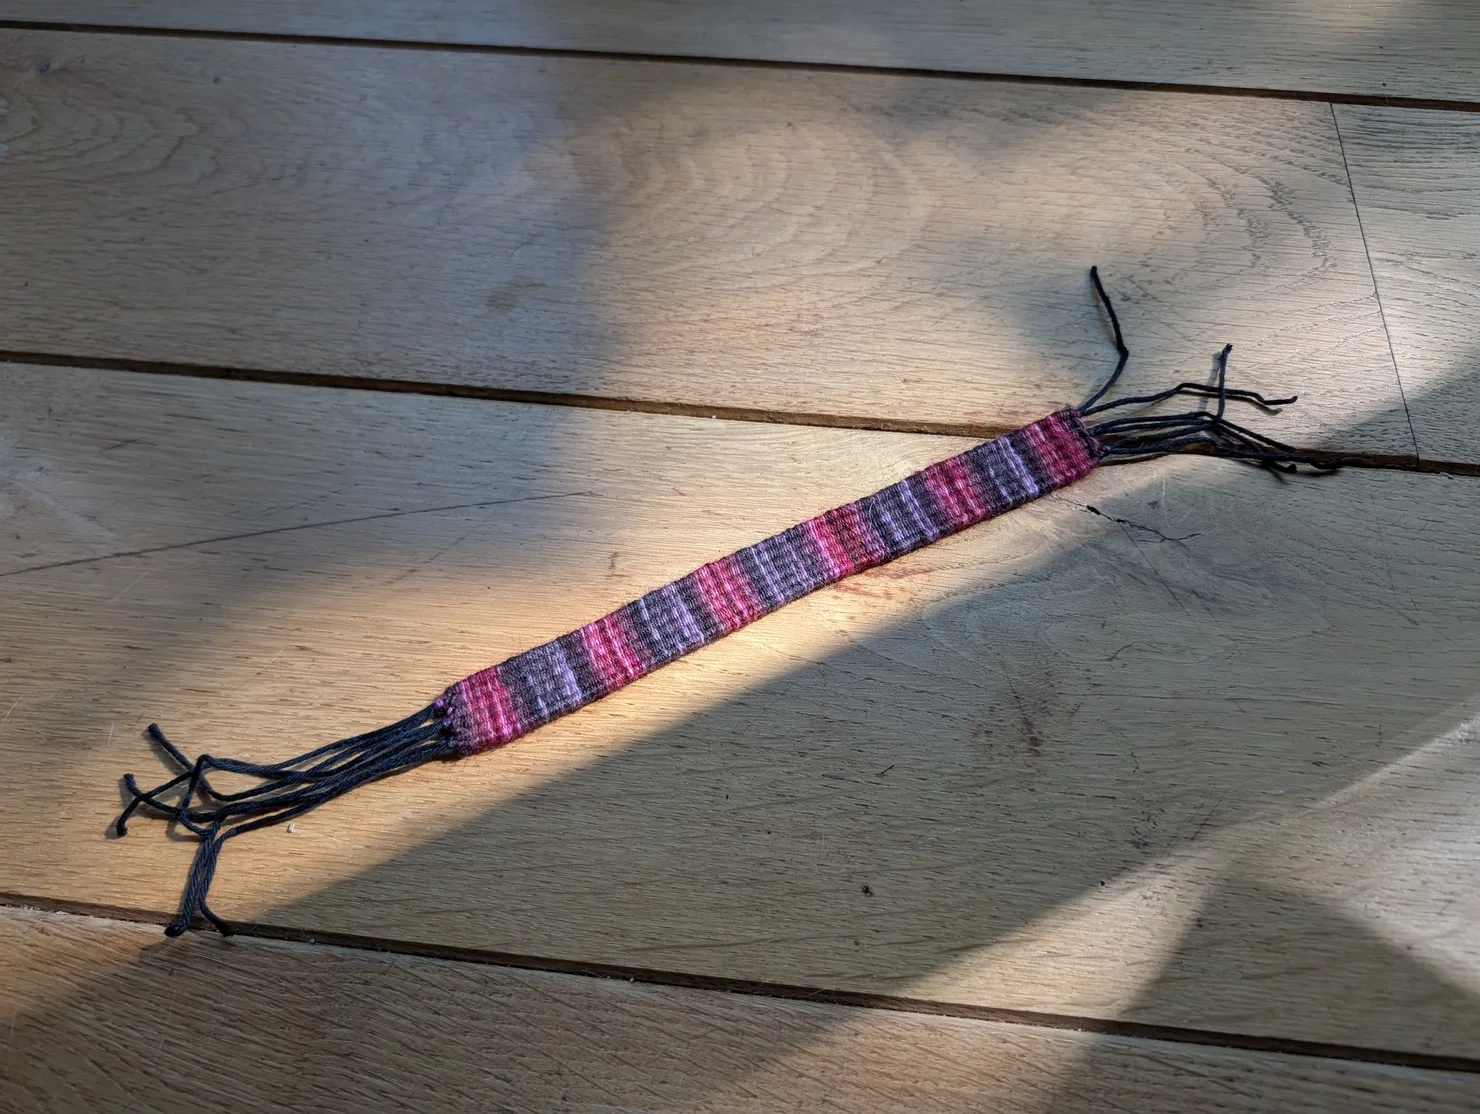
Tie off and trim the warp on one side
On the side where your warp is shortest, we’ll basically just knot those off and trim them. You have three sets of two threads – we’ll call them 1a 1b, 2a 2b, 3a 3b. Tie square knots between 1b and 2a, and between 2b and 3a, making sure to pull them tight.
After those knots, your threads are in the order 1a 2a, 1b 3a, 2b 3b Now tie square knots between 1a and 2a, 1b and 3a, and 2b and 3b, making sure to pull them tight.
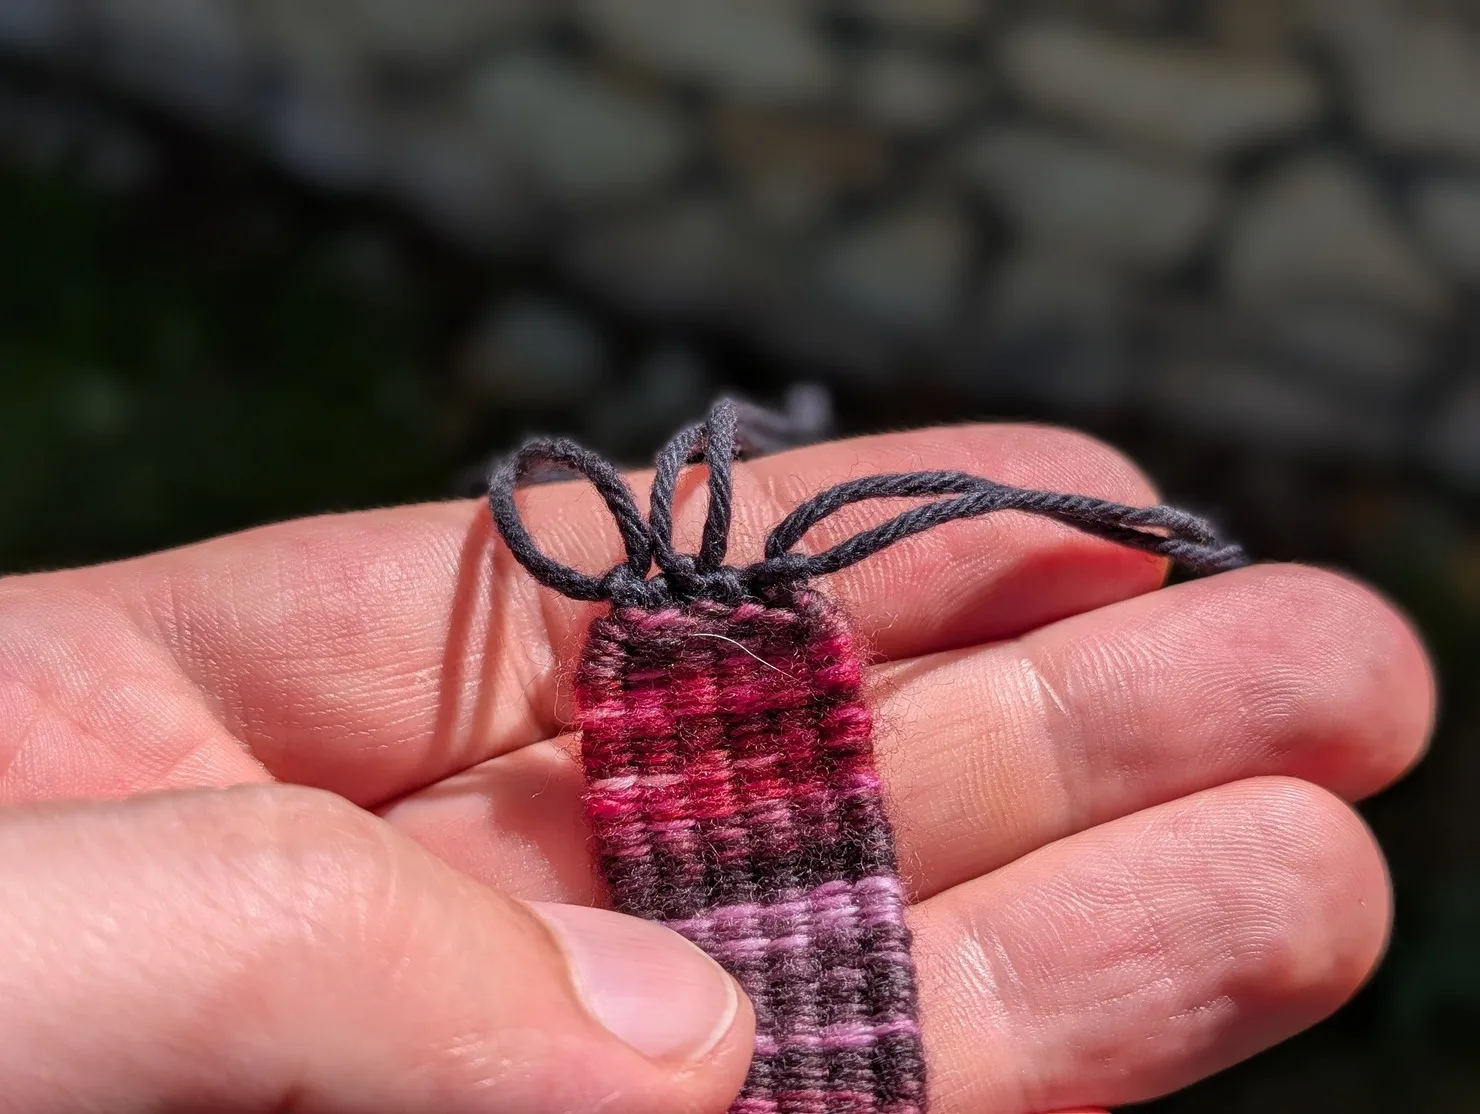
Trim the warp threads just outside the knots.
Make a loop on the other side
The easiest way I know to make a loop is to have two strings and tie them together. The easiest way I know how to make two strings out of six strings is to make two braids. So that’s what we’ll do.
Start by braiding 1a, 1b, and 2a together, and once you have a reasonable length, tie it off with an overhand knot to keep it from unraveling.
Then do the same with 2b, 3a, and 3b.
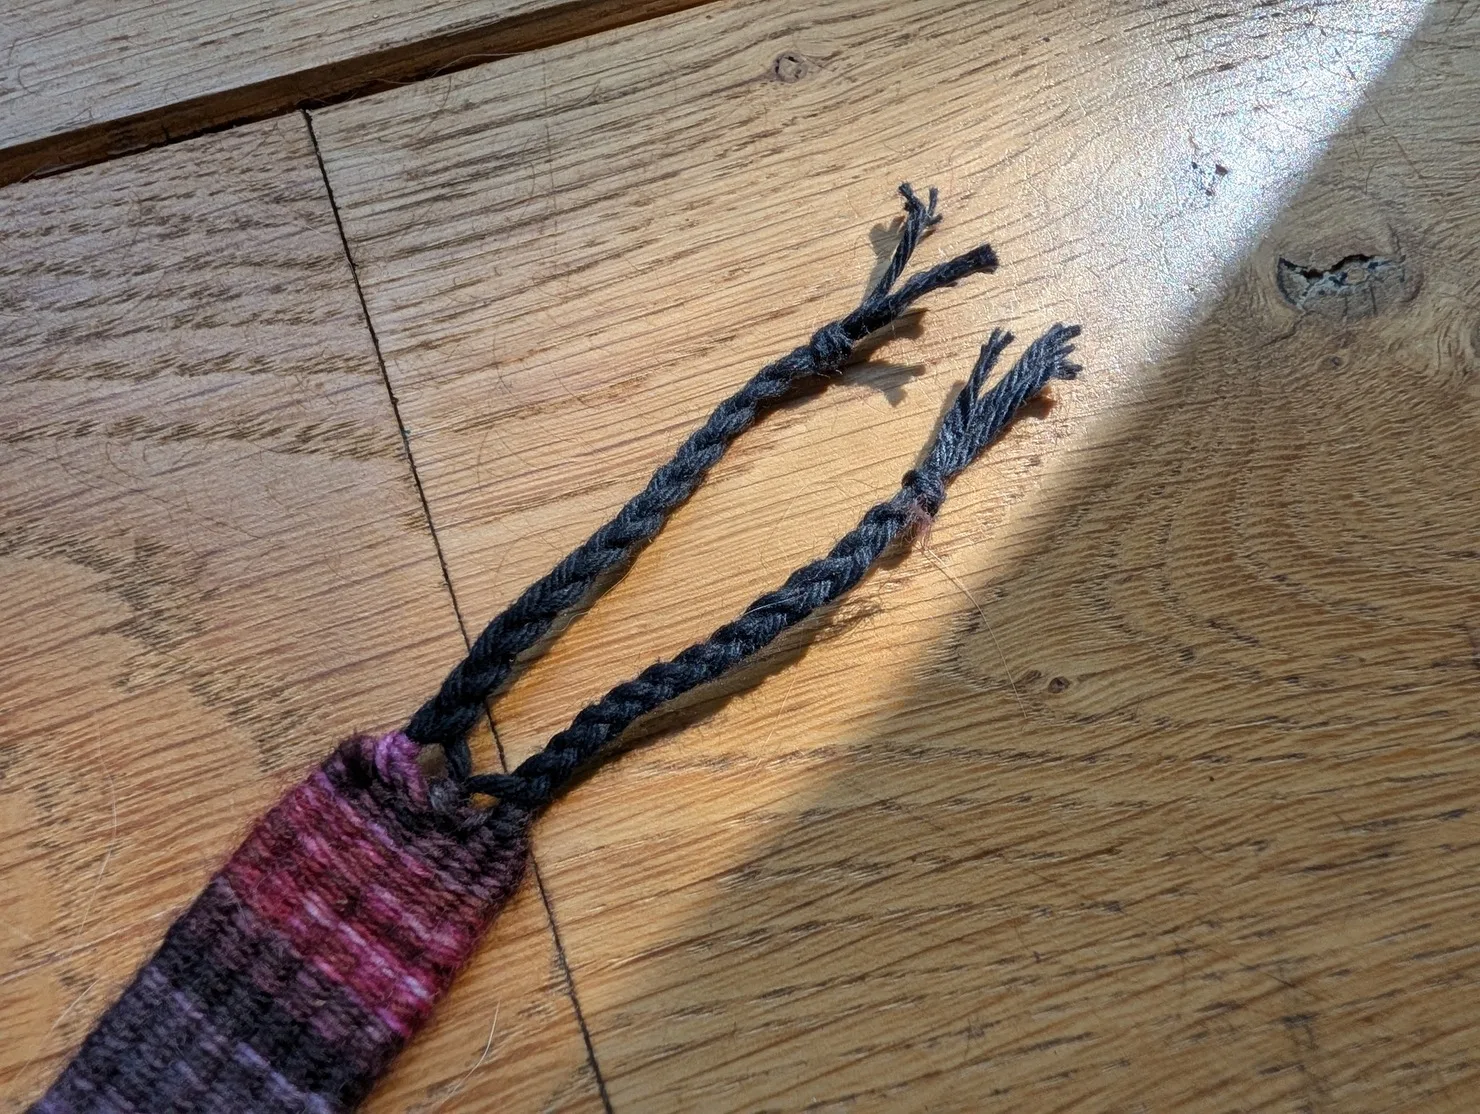
If you look closely, you’ll see you end up with some visible gaps at the bottom of the braids. If these bother you, you could do the first layer of knots like you did on the other wide before braiding. Or I suppose we could have just hem-stiched this side to have two groups of 3. However, it doesn’t bother me, so I didn’t do either of those things.
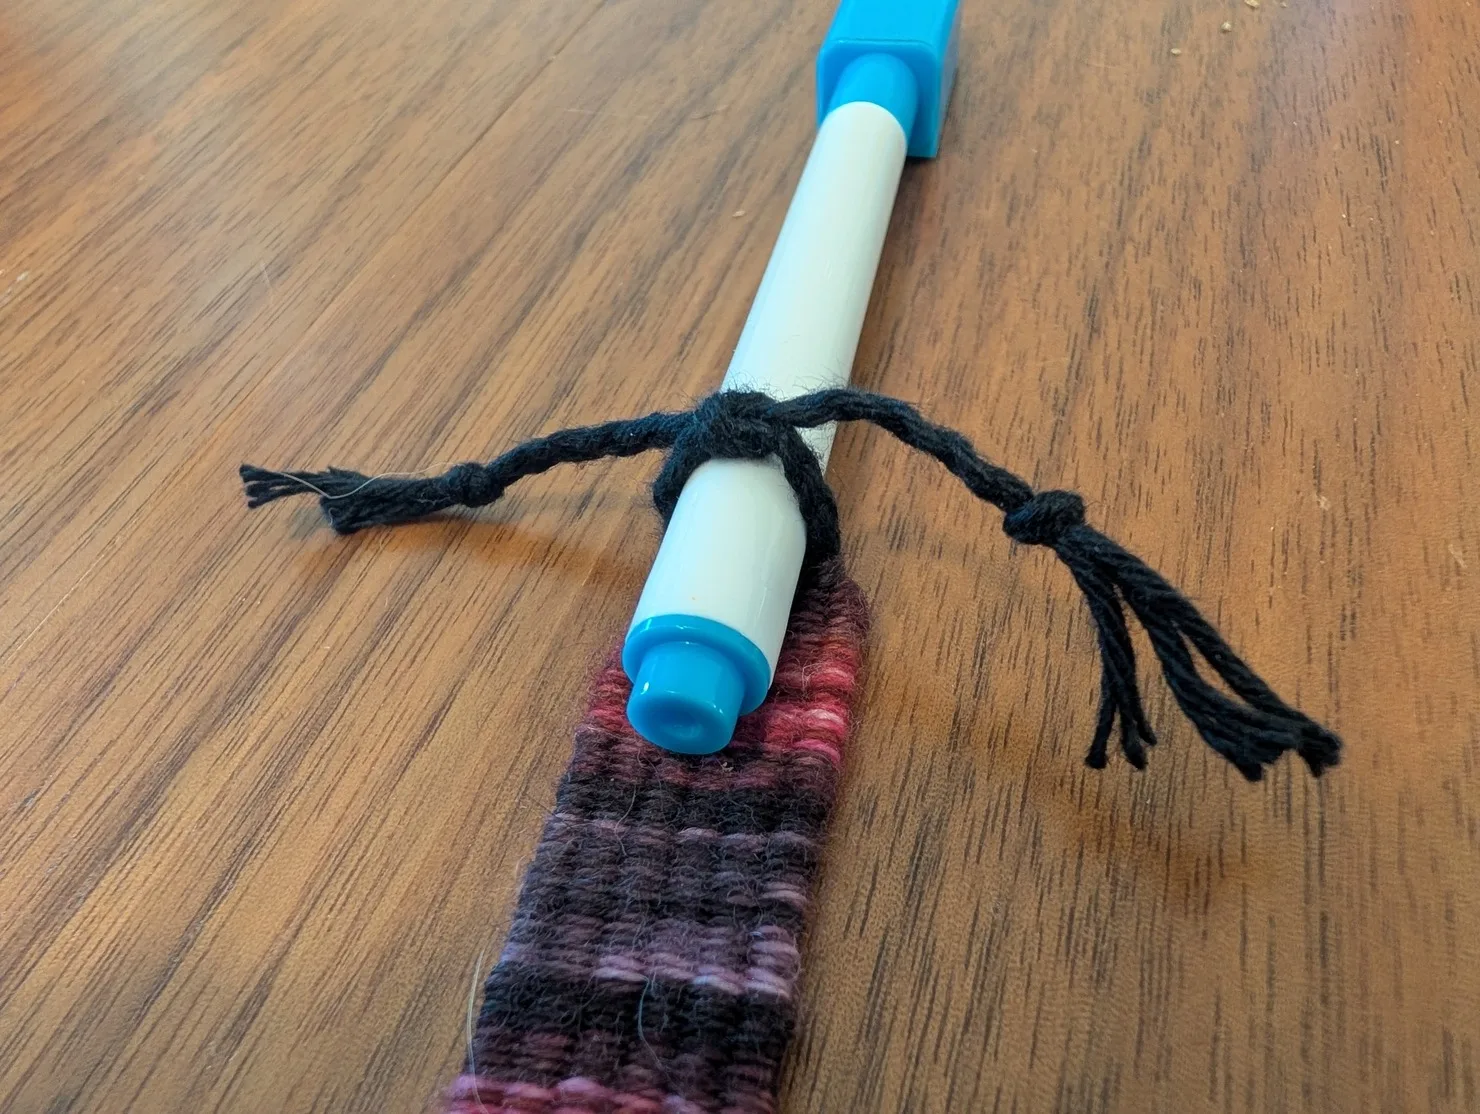
Anyway, find a tube of some kind of reasonable size (a marker works well), place it between the braids, and tie a square knot around it. Do not trim the braids yet.
Sew on the button
Put the bracelet around your wrist to see how the size is so far. If the loop extends over the weave on the other side, that tells you where to put the button. If it doesn’t, then you need to make the loop bigger: untie the square knot, find a bigger tube, and re-tie it until it does. You’ll want to aim to put the button about 3-4 layers deep into your weave if possible.
Now take some of your yarn and sew the button onto the bracelet. You’ll probably need a needle for this – do your best to push it between your weave and avoid piercing any yarn. Just loop it through the holes in your toggle button 2 or 3 times.
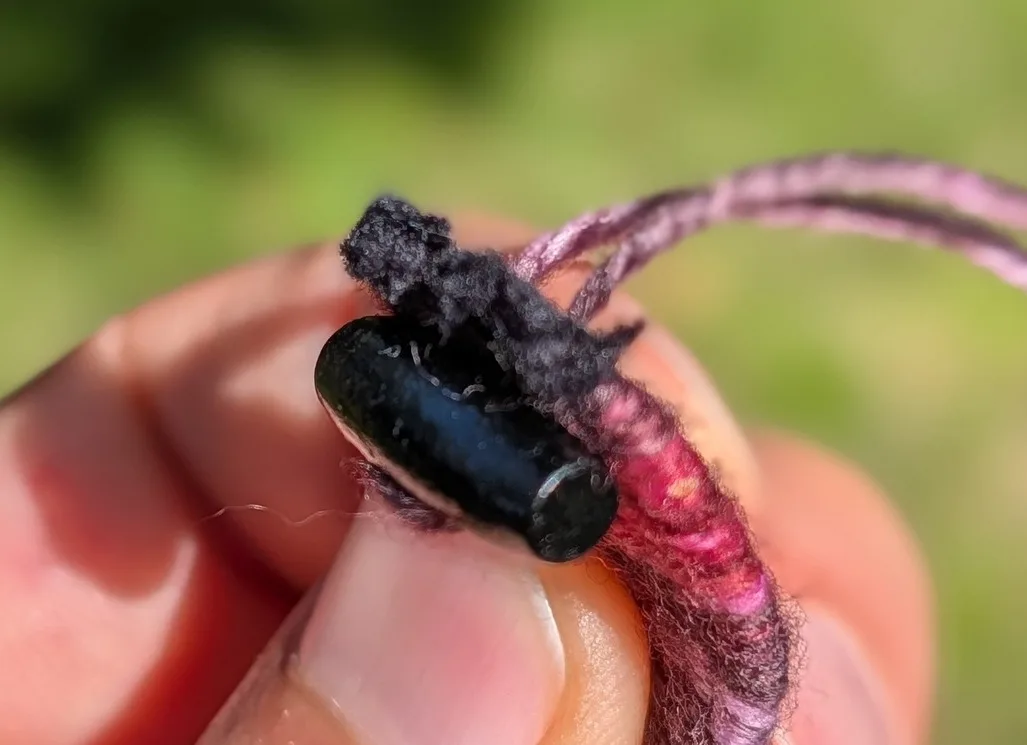
Then tie it off in the back with a square knot, and trim the excess thread.
Check for fit comfort
At this point, you can wear the bracelet. So put it on and see how it feels. If it’s too tight or too loose, adjust the size of the loop by untying the square knot, finding an appropriately sized tube, and re-tying it. Once it’s comfortable, trim off the braids just outside the square knot, and you’re done!
Troubleshooting
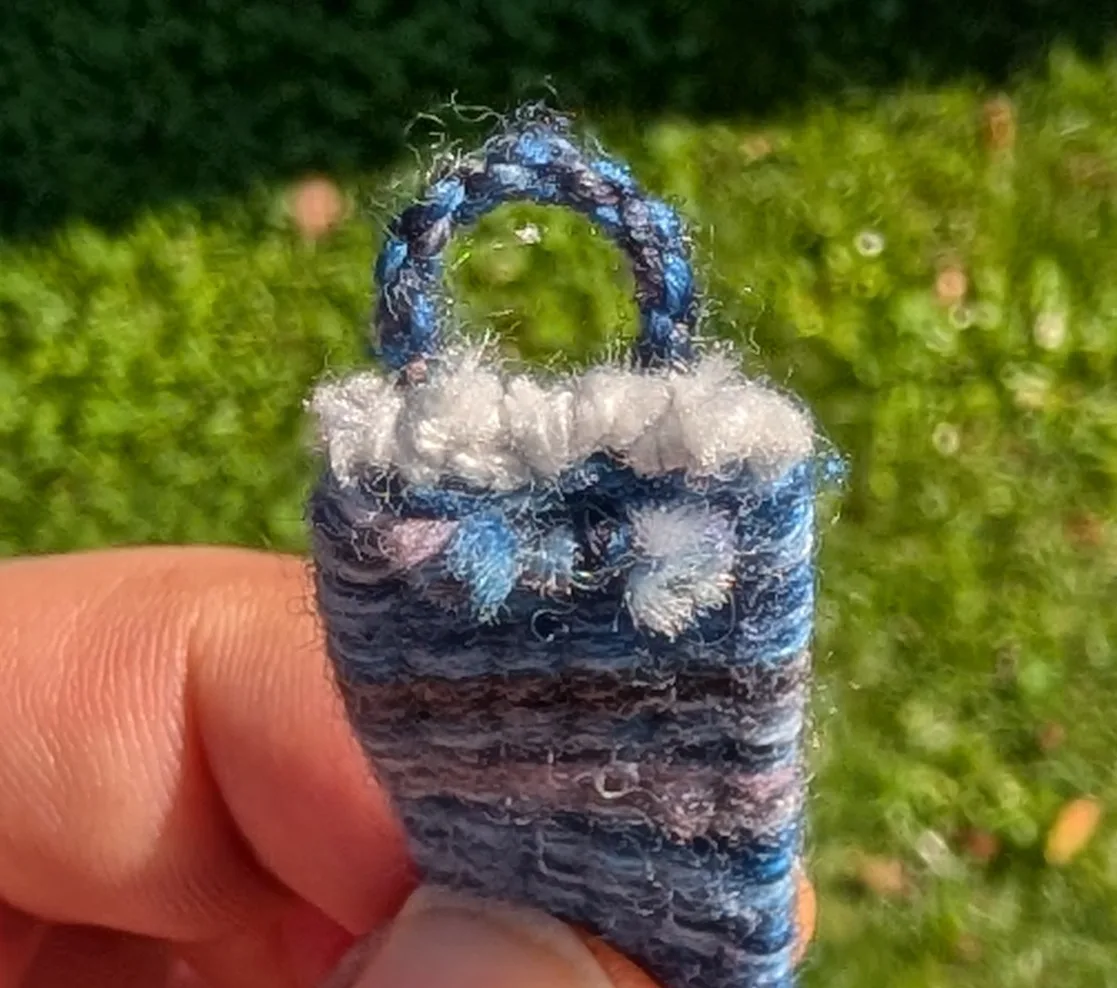
If the knot holding the loop together comes undone after trimming the slack, you probably won’t be able to get it back together again. Don’t panic. First, knot the warp threads off like you did on the other side and trim them short. Then, make a short length of “rope” out of your yarn by twisting and twisting it until it curls back in on itself. You can do this process twice to make a 4-ply rope if you like. Thread this into a needle, poke it through the bracelet to make a loop, and tie it off on the back with a square knot.
Tip: if your rope is thick enough that you can’t get it through the eye of your needle, thread a small piece of yarn through the “loop” at the end of the rope, then thread that and tie or hold the loop, so that your rope follows the needle.
Appendix
If you don’t have a frame loom, but do have a laser cutter, might I recommend using the generator I wrote.
Non-default parameters I used for my bracelet loom here are:
warpthreads: 10- I only used 6, but 10 gives you flexibility if you want to make a thick boi.
outerframelength: 295- frame length will determine how long a bracelet you can make. But in any case you might as well make it as long as the wood you have, which is likely 300mm.
combpins: 5- It’s nice for the comb to have 1 fewer pins than the number of warp threads in your bracelet.